Registration Marks
Registration marks are placed outside the trim area and used by press operators to align color separation plates (CMYK and spot colors). Each plate prints through a different impression cylinder; misalignment between plates causes visible color fringing. Standard target marks, crosshairs, and bullseyes provide visual and measurement references for achieving tight registration on press.

Adds precision alignment targets for multi-color plate registration: ensures each ink layer prints in perfect alignment.
Registration marks are placed outside the trim area and used by press operators to align color separation plates (CMYK and spot colors). Each plate prints through a different impression cylinder; misalignment between plates causes visible color fringing. Standard target marks, crosshairs, and bullseyes provide visual and measurement references for achieving tight registration on press.
How It Works
Registration marks are placed outside the trim area and used by press operators to align color separation plates (CMYK and spot colors). Each plate prints through a different impression cylinder; misalignment between plates causes visible color fringing. Standard target marks, crosshairs, and bullseyes provide visual and measurement references for achieving tight registration on press.
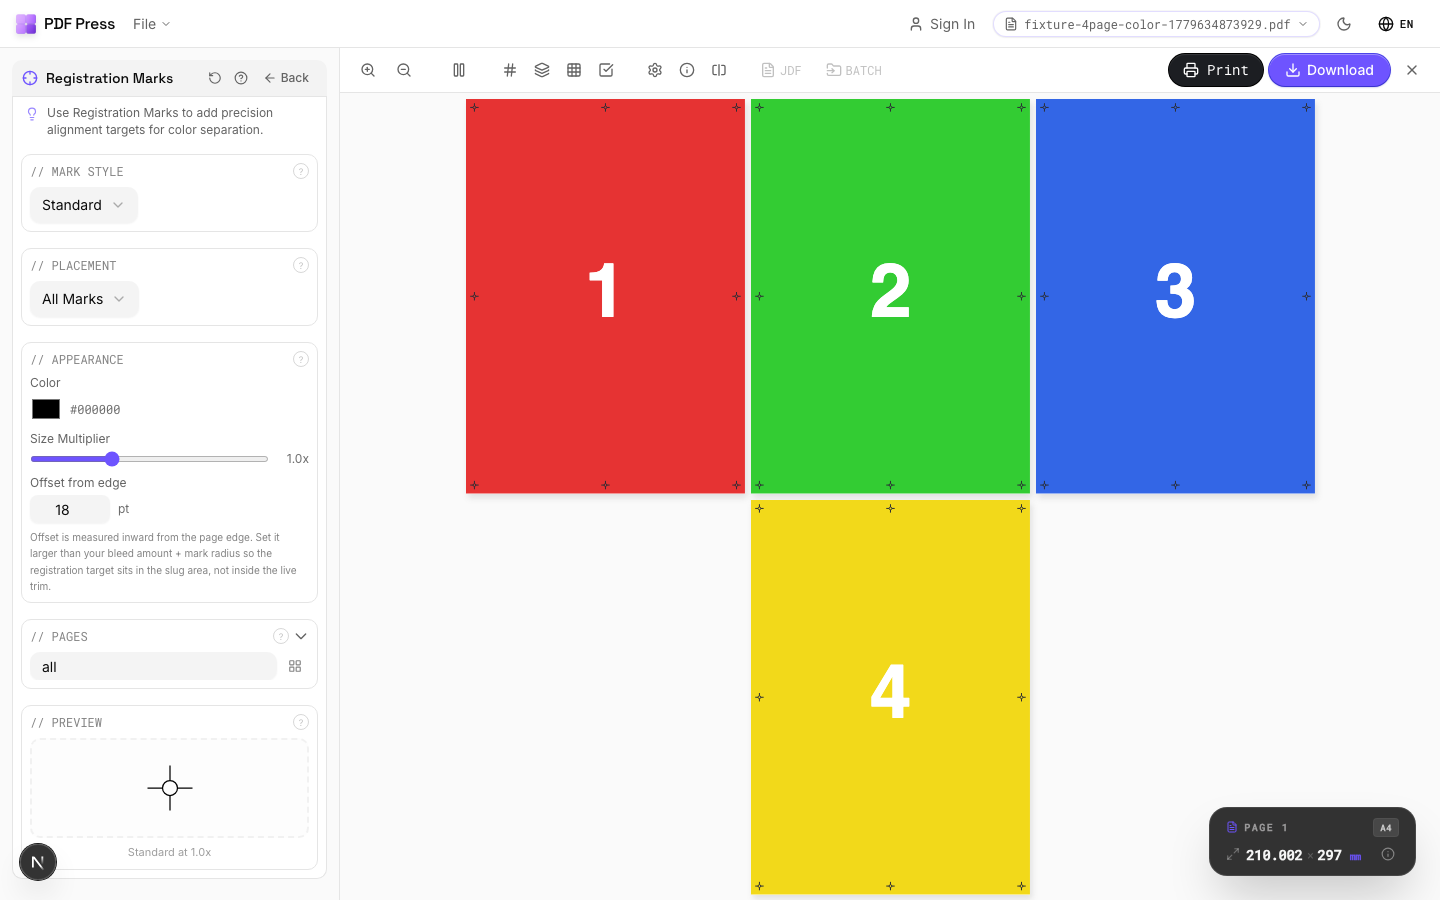
Registration Marks tool applied. Options panel on the left, imposed result on the right. Click to zoom.
Options Guide
Mark Style
Choose the registration mark design: standard target, crosshair, bullseye, or custom.
Standard target (concentric circles with crosshair): the universal registration mark recognized worldwide, compatible with all press equipment. Crosshair: simple plus-sign: lighter, takes less space, but provides less information about misregistration direction. Bullseye: concentric circles only: primarily decorative, rarely used in commercial production. Each style is printed in registration color (all plates), ensuring it appears identically on every separation.
Placement
Position marks along page edges: typically centered on each edge, outside the bleed area.
Standard placement: one mark centered on each of the four sheet edges. Marks should be positioned outside the bleed area but within the slug zone so they're visible on the press sheet. Distance from trim edge: typically 5–10mm (14–28pt). For large-format sheets, additional mid-span marks may improve registration accuracy.
Appearance
Configure mark size, line weight, and color.
Size: 5–10mm diameter is standard. Larger marks are easier to inspect but consume more slug space. Line weight: 0.25–0.5pt is typical: fine enough for precision but visible to the naked eye. Marks are always printed in registration color (all plates simultaneously), regardless of the color setting here: the color picker affects the on-screen preview appearance.
Pages
Specify which pages to process using a range expression.
Examples: 'all' = every page. '1-5' = pages 1 through 5. '1,3,5' = specific pages. '1-10 odd' = odd pages 1-9. '2-20 even' = even pages 2-20. 'last' = last page. 'last-2' = third from last. Ranges are 1-based. Combine with commas: '1-5, 8, 12-15'.
Preview
Live rendering showing mark positions and appearance on the page.
Configurations & Variations
Registration Marks Applied
Cross-hair registration targets appear at all four corners and at sheet midpoints. These targets print on all color separations (C, M, Y, K plus any spot colors) so the press operator can verify plate-to-plate alignment. Misaligned targets mean the plates need adjustment before the production run starts.
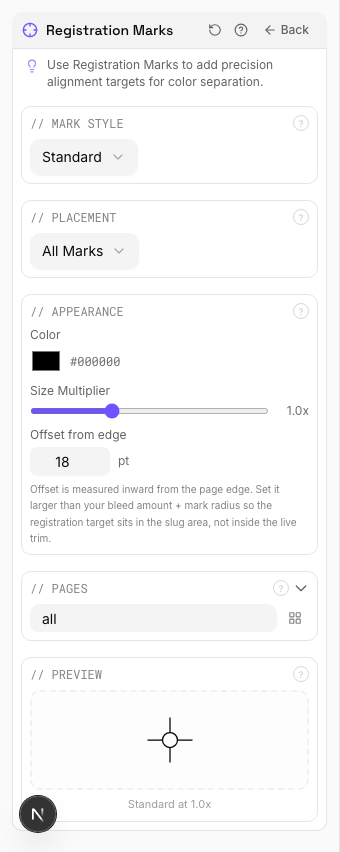
Settings to change
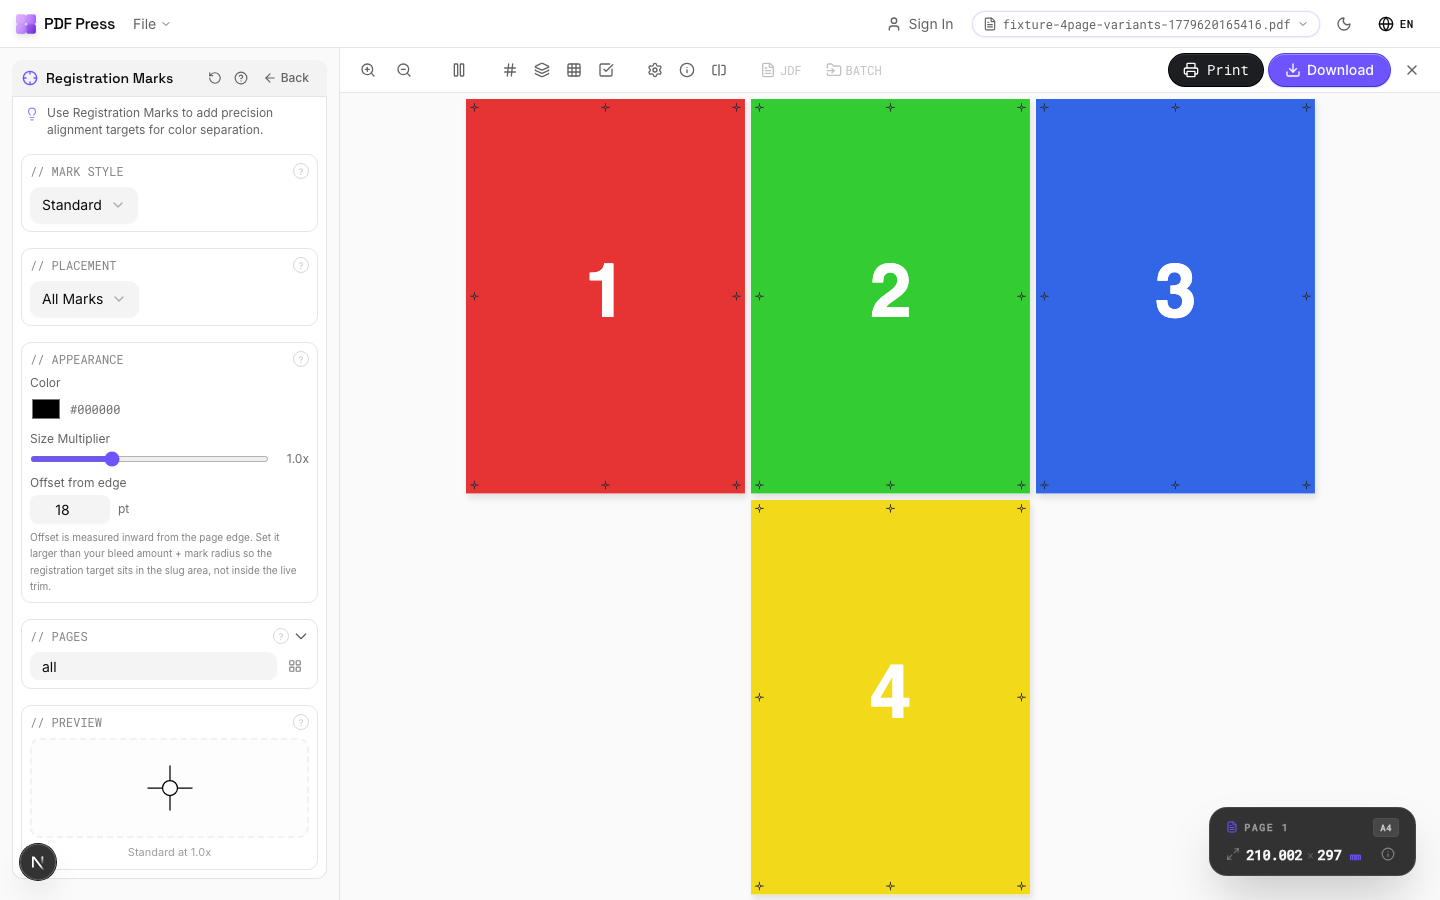
Full app view

Output result
Expert Tip
Place at least three registration targets: two on opposite edges for angle correction and one for position. This gives the press operator enough information to align all colour separations.
Registration marks print on all separations at 100%. Placing them in a high-coverage area will cause ink buildup.
Learn More
Used in Recipes
Playing Cards
Full deck of playing cards imposed for sheet-fed printing.
Sticker Sheets
Full sticker sheets with kiss-cut contours for peel-and-stick application.
Vinyl Stickers
Outdoor-rated vinyl stickers with laminate overprint and contour cut.
Sleeve / Band
Shrink sleeves or belly bands for product packaging.
Floor Graphics
Floor decals and wayfinding graphics with contour cutting.
Full Press Marks
Complete press mark set for commercial offset production.
Offset Press Ready
Full offset press preparation with all required finishing marks.
Die-Cut Production Marks
Complete die-cutting mark set for labels, stickers, and packaging.
Expert Grid with Finishing
Custom Expert Grid imposition with full finishing marks.
Try Registration Marks in your browser
PDF Press runs entirely client-side. Upload a PDF, apply Registration Marks, and download the result — no upload to a server, no sign-up required.
Open PDF Press