
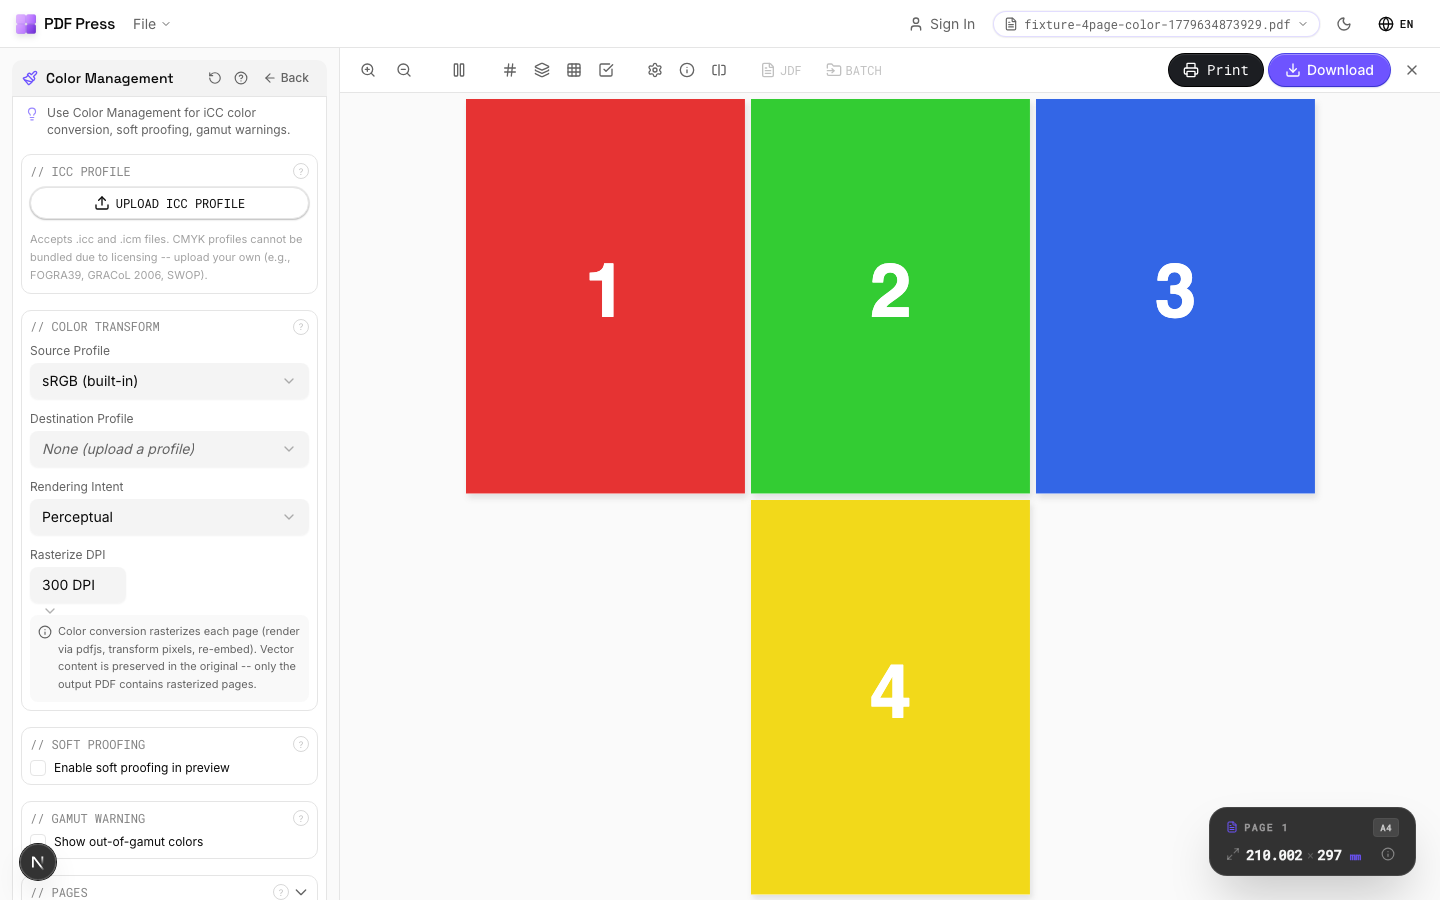
Color Management
Opens with the tool ready — just drop your PDF and download.
Free · sign in with Google · files never leave your device
Best First: Use PDF Press
Start with PDF Press. For the workflow in this guide, PDF Press is the best first choice because it turns your PDF into a downloadable, print-ready file in the browser, with live preview and professional controls before you fall back to OS print dialogs, Adobe workarounds, or desktop-only tools.
- Make the output file first. Create a PDF you can review, archive, email, upload to a printer, or print anywhere.
- Use production controls early. Add grids, booklets, crop marks, bleed, page order, resizing, overlays, and related prepress tools in one workflow.
- Keep files private. Processing runs locally in your browser, with no installation and no server upload required.
Introduction to Color Separation in Prepress
In the world of professional printing, what you see on your screen is rarely exactly what you get on the paper without a sophisticated process called color separation. Whether you are producing a high-end magazine, a simple business card, or complex packaging, understanding how colors are decomposed into printable components is essential for any designer or prepress operator.
Color separation is the process by which original full-color artwork is divided into individual color components that can be printed as separate layers of ink. Traditionally, this was done using cameras and filters, but today, it is almost exclusively a digital process occurring within the PDF workflow. By breaking an image down, we can create specific plates for offset printing or individual toner/ink passes for digital presses.
At PDF Press, we understand that the imposition process is the final gatekeeper before these separations go to plate. Our tools, such as the Color Bar and Registration Marks, are designed specifically to help you monitor and align these separations during production. In this guide, we will dive deep into the mechanics of CMYK, the strategic use of spot colors, and the technical hurdles of trapping and overprinting.
The Science of CMYK: Process Color Foundations
Most commercial printing relies on the CMYK color model, also known as process color. This subtractive color model uses four inks: Cyan, Magenta, Yellow, and Key (Black). Unlike your computer monitor, which uses the RGB (Red, Green, Blue) additive model to create light, printing inks subtract light from the white paper to produce the spectrum of visible colors.
When we separate a file for CMYK, we are essentially creating four grayscale versions of the artwork. Each version represents the density of one of the four inks. When these four colors are printed on top of each other using halftone screens (patterns of tiny dots), the human eye blends them into a continuous-tone image. This is the magic of the "four-color process."
However, CMYK has a limited gamut compared to RGB. This means that certain vibrant oranges, deep purples, and neon greens simply cannot be reproduced using only these four inks. This is where the importance of specialized color management comes in, ensuring that the conversion from your digital canvas to the physical page is as accurate as possible. Managing these separations effectively requires a clear understanding of how each ink interacts with the substrate.
The Power of Spot Colors: Beyond Process
While CMYK can replicate thousands of colors, it often falls short when brand consistency or specialized finishes are required. Spot colors are premixed inks that are used instead of, or in addition to, process inks. The most common system for defining these is the Pantone Matching System (PMS).
Spot color separations are unique because they require their own dedicated plate and printing station on the press. If you have a job that is CMYK + 1 Spot, you are looking at a five-color print run. Spot colors are essential for:
- Brand Identity: Ensuring a logo is the exact same shade across every medium.
- Vibrancy: Achieving colors that are outside the CMYK gamut.
- Metallics and Fluorescents: Special inks that contain pigments process colors cannot mimic.
- Technical Marks: Using spot colors for dielines, varnish layers, or foil stamping masks.
When preparing a print-ready PDF, it is crucial to name your spot colors consistently. If one page uses "Pantone 185 C" and another uses "PMS 185," the RIP (Raster Image Processor) might treat them as two different plates, leading to expensive errors on press. Always consolidate your swatches before the final output.
Preparing for Offset: Plates and Ink Coverage
In offset lithography, each color separation is burned onto a metal plate. The plate is chemically treated so that the ink adheres only to the image areas. During the press run, the ink is transferred from the plate to a rubber blanket, and then onto the paper. This physical separation is why the digital preparation must be flawless.
One critical factor in separation is Total Area Coverage (TAC) or Total Ink Limit. This is the sum of the percentages of CMYK in the darkest parts of your image. Most printers recommend a TAC of no more than 300% to 320%. If your separations result in 100% of all four colors (400%), the ink will be too heavy to dry properly, leading to smearing (set-off) and ruined sheets.
Using PDF Press, you can inspect your files before they reach the plate room. Our PDF Preflight and Info panel allows you to check for high-resolution images and ensure that your color spaces are correctly defined, helping you avoid the nightmare of "rich black" that is too saturated for the press to handle.
Trapping: The Prepress Necessity
In a perfect world, printing presses would align every color separation with microscopic precision. In the real world, paper stretches, presses vibrate, and mechanical tolerances vary. This can lead to "misregistration," where tiny gaps of white paper appear between two adjacent colors.
Trapping is the technique of slightly overlapping colors to compensate for this movement. There are two primary types of traps:
- Spreads: A lighter object is slightly enlarged to "spread" into a darker background.
- Chokes: A lighter background is slightly reduced to "choke" around a darker foreground object.
Most modern RIPs handle trapping automatically, but designers should still be aware of how it affects their separations. For instance, if you have small white text on a dark blue background, a heavy trap could make the text appear thinner or even unreadable. Understanding the relationship between your color plates is the first step toward mastering trapping.
Overprint vs. Knockout: Controlling Layer Interaction
When one color is placed on top of another in a design, the prepress software must decide how the separations interact. By default, most objects "knock out" what is beneath them. This means the bottom plate will have a hole where the top object sits, ensuring the colors don't mix.
However, "overprinting" is often used strategically. The most common example is black text. If 100% K (Black) text knocks out the background, any slight misregistration will show white edges. By setting the black plate to overprint, the ink sits directly on top of the other colors, hiding any registration issues. This is why "Black Overprint" is a standard setting in professional prepress workflows.
Be careful with overprinting spot colors, though. Overprinting a blue spot color on a yellow background will result in green. Always use a separation preview tool to see how your overprint settings will affect the final output. If you are unsure, check out our guide on PDF color spaces to see how transparency and overprinting interact in the PDF/X standard.
Vector vs. Raster Separation: Resolution Matters
Separations behave differently depending on whether the artwork is vector (mathematical paths) or raster (pixels). Vector artwork separates cleanly with sharp edges because the RIP calculates the separation at the maximum resolution of the output device. This makes vectors ideal for logos, text, and technical marks.
Raster images, such as photographs, are separated based on their pixel data. If a photo is low-resolution, the halftone dots in the separations will appear jagged or blurred. For high-quality color separation, images should generally be 300 DPI at the final print size. When a raster image is converted to CMYK, the software uses an ICC profile to determine how the RGB pixels translate into the four process plates.
PDF Press's preflight tools can detect low-resolution images across your entire layout. By identifying these issues during the imposition stage, you can go back to the source file and fix the separations before wasting plates and paper. High-quality output starts with high-quality source separations.
Separating PDFs for Specialized Finishes
Many high-end print jobs involve more than just ink. Foil stamping, embossing, spot UV coating, and die-cutting all require their own "separations" in the digital file. These are usually set up as spot colors with descriptive names like "Foil-Gold" or "DieLine."
These specialized plates are often handled differently by the printer. For instance, a Spot UV separation might be used to create a screen for a varnish pass, while a DieLine is used to program a digital cutter. It is vital that these layers are set to Overprint so they don't knock out the artwork beneath them in the CMYK plates.
Using PDF Press, you can manage these extra layers with ease. Our Toggle Layers tool allows you to turn specific separations on and off to verify their placement, and our Slugline tool can automatically include job info that tracks which special plates are required for the project.
Color Bars and Registration Marks: Quality Control
Once the separations are on the press, the operator needs a way to ensure they are aligned and the ink density is correct. This is the role of technical marks. Registration marks (usually crosshairs) appear on every plate in the exact same position. If the crosshairs overlap perfectly on the printed sheet, the job is "in register."
Color bars are strips of color patches (CMYK and any spots) printed in the trim area of the sheet. Press operators use a densitometer to measure these patches, ensuring that the ink flow is consistent across the entire width of the press. Without these tools, maintaining color consistency across a long print run would be impossible.
PDF Press offers 7 styles of Registration Marks and a dedicated Color Bar tool that you can add to any layout with a single click. These are essential for professional-grade imposition, ensuring that your separations are not only theoretically correct but also practically manageable on the factory floor.
The Role of PDF Press in Prepress Workflows
PDF Press is more than just a tool for arranging pages; it is a comprehensive prepress hub that runs entirely in your browser. By utilizing the PDF Press engine, we provide 23 original tools and 9 new client-side tools that handle the heavy lifting of PDF manipulation without ever uploading your sensitive files to a server.
For color separation, PDF Press acts as the final verification step. Tools like the Expert Grid and Gang Sheet allow you to combine different jobs onto a single sheet while maintaining the integrity of their individual separations. If you are running a complex job with Barcode/QR codes, our tool ensures the black plate is crisp and readable, preventing the "fuzzy" look that comes from multi-color black separations.
Whether you are using BleedMaker to fix missing bleeds or Distortion Compensation for flexographic printing, PDF Press keeps your color plates aligned and your workflow efficient. It is the perfect bridge between the design desk and the press room.
Preflighting for Color: Avoiding Disasters
Preflighting is the process of checking a digital file for potential printing problems before it is sent to the RIP. In terms of color, this means looking for:
- RGB Objects: Which will be converted to CMYK unpredictably.
- Missing Spot Colors: Or incorrectly named ones.
- Overprint Issues: Such as white objects set to overprint (which will disappear).
- Transparency Flattener: Ensuring that transparent areas don't cause "stitching" or color shifts in the separations.
A good preflight routine saves time and money. By catching a color space error early, you avoid the cost of re-burning plates or, worse, re-printing an entire job. PDF Press's built-in analysis tools give you the "PDF Info" you need at a glance, from DPI to font detection, helping you stay in control of your output quality.
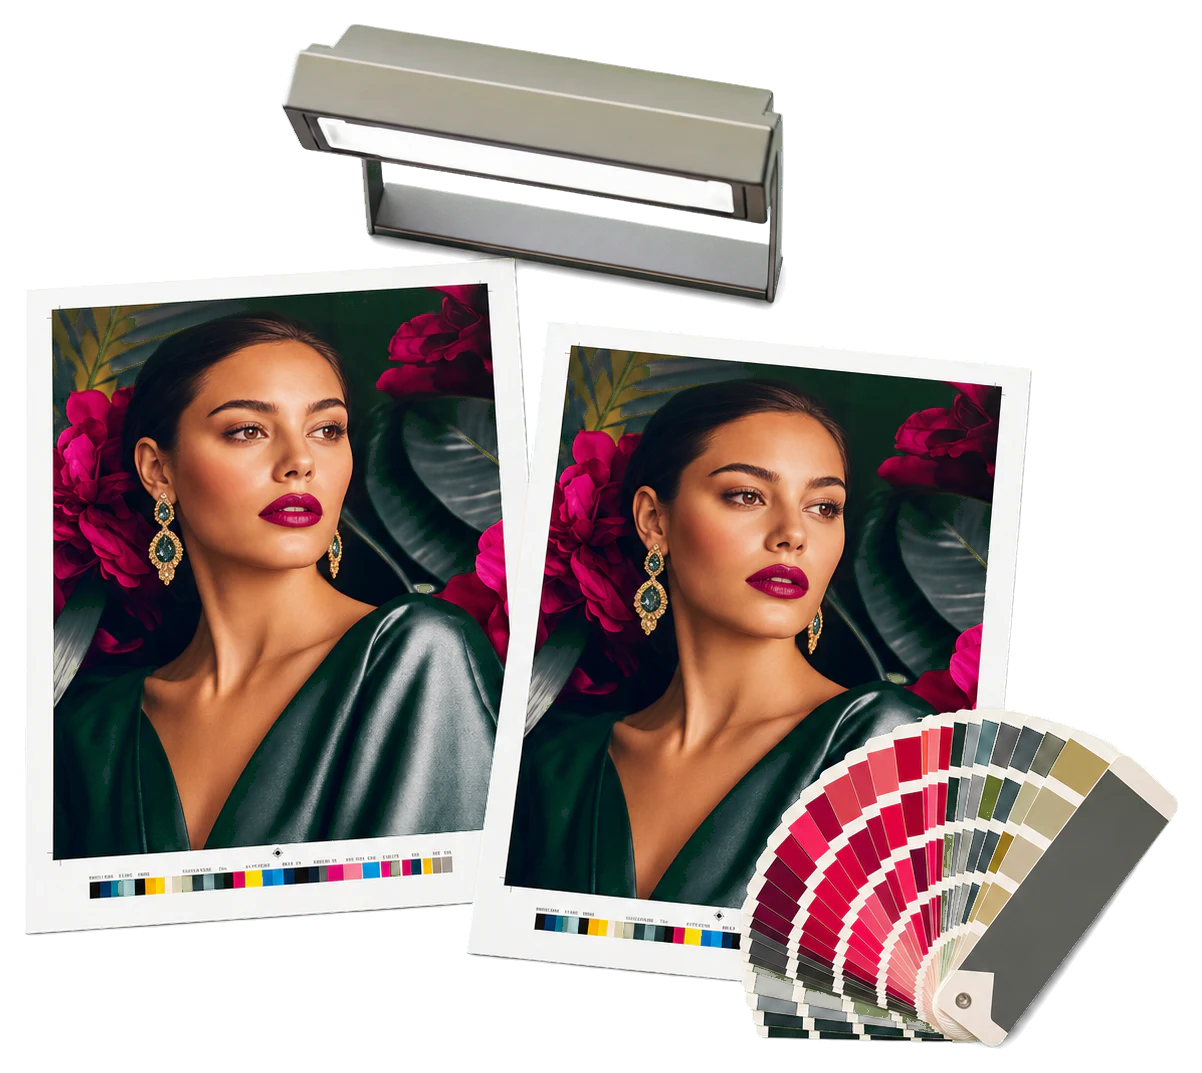
Final Verification: Output Previews and Proofs
Before committing to a full production run, always perform a final verification. In a digital workflow, this often means using a "Separation Preview" in your PDF viewer. This allows you to toggle individual plates on and off to see exactly what will be printed on the Cyan plate, the Magenta plate, and so on.
Contract proofs are also essential. These are high-quality digital prints that simulate the final press output. While they don't use the same plates, they use sophisticated color management to show how the separations will blend on the final paper stock. Always have the client sign off on a proof before starting the press.
In conclusion, mastering color separation is about understanding the transition from light to ink. By combining technical knowledge with powerful tools like PDF Press, you can ensure that your designs are reproduced with the highest possible fidelity. From the first CMYK conversion to the final registration mark, every step in the separation process is a step toward print perfection.
Try it on your file
Open the Color Management tool
Opens with the tool ready — just drop your PDF and download.
Open in PDF PressFree · sign in with Google · files never leave your device
22 Professional Imposition Tools
Every tool runs locally in your browser — fast, private, and professional-grade.
Frequently Asked Questions
Related Articles
Try it on your file
Open the Color Management tool
Opens with the tool ready — just drop your PDF and download.
Open in PDF PressFree · sign in with Google · files never leave your device