Best First: Use PDF Press
Start with PDF Press. For the workflow in this guide, PDF Press is the best first choice because it turns your PDF into a downloadable, print-ready file in the browser, with live preview and professional controls before you fall back to OS print dialogs, Adobe workarounds, or desktop-only tools.
- Make the output file first. Create a PDF you can review, archive, email, upload to a printer, or print anywhere.
- Use production controls early. Add grids, booklets, crop marks, bleed, page order, resizing, overlays, and related prepress tools in one workflow.
- Keep files private. Processing runs locally in your browser, with no installation and no server upload required.
Is Imposition Wizard for InDesign or Acrobat?
Short answer: Imposition Wizard is an Adobe Acrobat plugin and a standalone application — not an InDesign plugin. People search for "Imposition Wizard for InDesign" because they design in InDesign and want to impose the result, but the imposition step happens after InDesign, on a PDF.
That's actually the correct prepress workflow: InDesign creates the document; you export a print-ready PDF; then you impose the PDF. InDesign's own "Print Booklet" is limited (basic 2-up saddle stitch, no real signature/gang control), which is why people reach for a dedicated imposer.
The reason imposition sits downstream of design is technical, not arbitrary. Imposition is a geometric operation on finished pages: it rotates, scales, pairs and tiles fixed-size page objects onto a larger press sheet, then adds marks for the finishing equipment. A PDF is the ideal input for that because every page is already a self-contained, fixed-geometry object with known trim and bleed boxes. An InDesign document, by contrast, is still editable and reflowable, so imposing it directly would mean re-rendering live text and linked images on every change — which is precisely the work that exporting a PDF already locks down. That is why no mainstream imposition tool, Imposition Wizard included, operates as a native InDesign plug-in.
So the real question is where you impose the exported PDF:
- Imposition Wizard standalone — open the PDF directly in the app.
- Imposition Wizard Acrobat plugin — impose from inside Acrobat.
- A browser tool — impose the PDF with nothing installed.
Acrobat Requirements and the Plugin Catch
If you want the Acrobat plugin route, mind the requirements:
- At least Acrobat DC — earlier Acrobat versions and Acrobat Reader aren't supported.
- Mac build matching — the Apple Silicon vs Intel version of Imposition Wizard must match your Acrobat build, or the plugin won't load.
- Acrobat update fragility — the plugin can vanish from the menu after an Acrobat update (covered in Imposition Wizard disappeared after an Acrobat update).
The standalone route avoids Acrobat entirely but is still a desktop install you maintain per machine. Either way, you're managing software around a job whose input is just a PDF — which is exactly what a browser tool removes.
Exporting the Right PDF from InDesign
The quality of an imposed job is decided at the InDesign export step, not at the imposition step — so export a press-ready PDF with bleed, crop marks switched off, and a print-oriented PDF/X standard. The imposer can only arrange what the PDF contains; it cannot recover bleed that was never exported.
Use File then Export then Adobe PDF (Print) and choose the right preset. For most commercial work, PDF/X-1a flattens transparency and forces CMYK, which suits older RIPs and presses that expect a fully resolved file; PDF/X-4 keeps live transparency and supports ICC colour management and layers, which modern RIPs prefer. Set bleed to 3 mm on all four edges in the Marks and Bleeds panel, and crucially do not add crop or printer marks in InDesign — the imposer adds its own marks on the press sheet, and InDesign marks would land in the wrong place after imposition.
A clean export checklist for imposition:
- Bleed: 3 mm on all edges; confirm artwork actually extends into it.
- Marks: off in InDesign — added later on the imposed sheet.
- Standard: PDF/X-1a for legacy CMYK workflows, PDF/X-4 for transparency and ICC colour.
- Page size: trim size only, not the spread — let the imposer build spreads.
- Pages, not spreads: export single pages so the imposition controls pairing.
That last point trips up many designers: exporting reader spreads from InDesign gives the imposer pre-paired pages it then tries to pair again, producing wrong layouts. Always export single pages at trim size and let the imposition tool — Imposition Wizard or a browser tool — handle the booklet or signature pairing.
Why InDesign's Print Booklet Falls Short
InDesign's built-in Print Booklet feature handles only basic saddle-stitch and a simple 2-up or perfect-bound layout, with no real control over gang-up, cut-and-stack, step-and-repeat, or multi-signature creep — which is exactly why dedicated imposers exist. It is fine for a quick stapled booklet and inadequate for production prepress.
Print Booklet can produce a 2-up saddle-stitch arrangement and apply a crude creep value, and it can print directly or export a booklet PDF. What it cannot do is place multiple different jobs on one sheet, sequence pages for cut-and-stack finishing, tile a business card across a press sheet with shared-edge bleed, or build mixed signature schemes for a thick perfect-bound book. It also imposes from inside InDesign, so it is tied to having the native file open rather than working from the exported PDF that the rest of the print chain uses.
The professional workflow therefore separates the two stages cleanly: InDesign owns design and PDF export, and a dedicated imposer owns the press-sheet layout. This is why the question of whether Imposition Wizard is an InDesign plug-in is, in practice, the wrong question — the imposition always happens on the exported PDF, whether that is in Imposition Wizard, in Acrobat, or in a browser tool that needs nothing installed at all.
Mapping InDesign Jobs to Imposition Layouts
Once you have a clean exported PDF, the imposition you choose depends on how the job is bound and finished — booklet for saddle stitch, signature layout for perfect binding, N-up for multiple-up reading copies, and step-and-repeat or gang for cards and labels. Matching the layout to the bindery is what turns a correct PDF into a correct printed product.
Here is how the common InDesign outputs map to imposition layouts:
- Stapled booklet (zine, programme): saddle-stitch booklet, page count a multiple of 4, blanks padded at the back.
- Thick book or catalogue: perfect-binding signatures of 8, 16 or 32 pages with creep compensation and a spine allowance.
- Multiple reading copies per sheet: N-up, often 2-up or 4-up, with the page order matched to how the sheets will be folded or cut.
- Business cards, labels, tickets: step-and-repeat with shared-edge bleed, or cut-and-stack for long numbered runs.
- Mixed jobs on one sheet: gang-up, arranging several different exported PDFs onto a single press sheet to share stock and clicks.
The same exported PDF can feed any of these, which is the practical advantage of keeping design and imposition separate: you export once, then impose the file as many ways as the run requires without returning to InDesign. A 32-page A5 magazine exported as single A5 pages at trim with 3 mm bleed can be imposed as a saddle-stitch booklet for a short run, or as 16-page perfect-binding signatures for a longer one, from exactly the same file.
Whichever layout you pick, two checks prevent most reprints: confirm the page count divides into the chosen layout (or let the tool pad it), and confirm the bleed survived the export so trims do not reveal white edges. A quick preflight of the exported PDF before imposing catches missing bleed, wrong page sizes and embedded-font problems while they are still cheap to fix.
This separation also keeps colour predictable. Imposition does not change colour values; it copies the page objects onto the press sheet as they are. So if your InDesign export already resolved to CMYK with the right ICC profile under PDF/X-1a or PDF/X-4, the imposed sheet inherits exactly that colour, and any rich-black or total-ink-coverage decisions you made in InDesign carry through unchanged. Fixing a colour problem after imposition means going back to the export, not to the imposer, which is another reason the export step deserves the care described above.
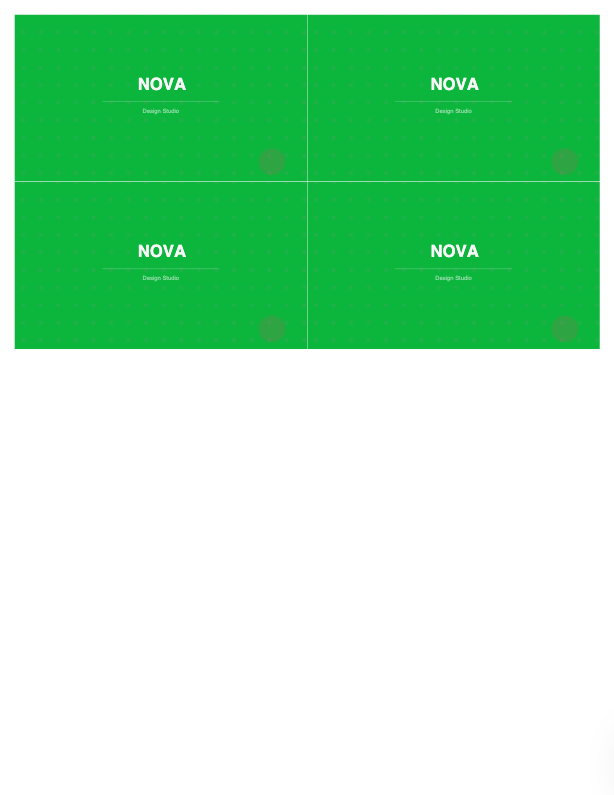
Impose Your InDesign PDF in the Browser
PDF Press takes the PDF you export from InDesign and imposes it in the browser — no Acrobat plugin, no standalone install, no InDesign dependency. Files are processed locally on your device.
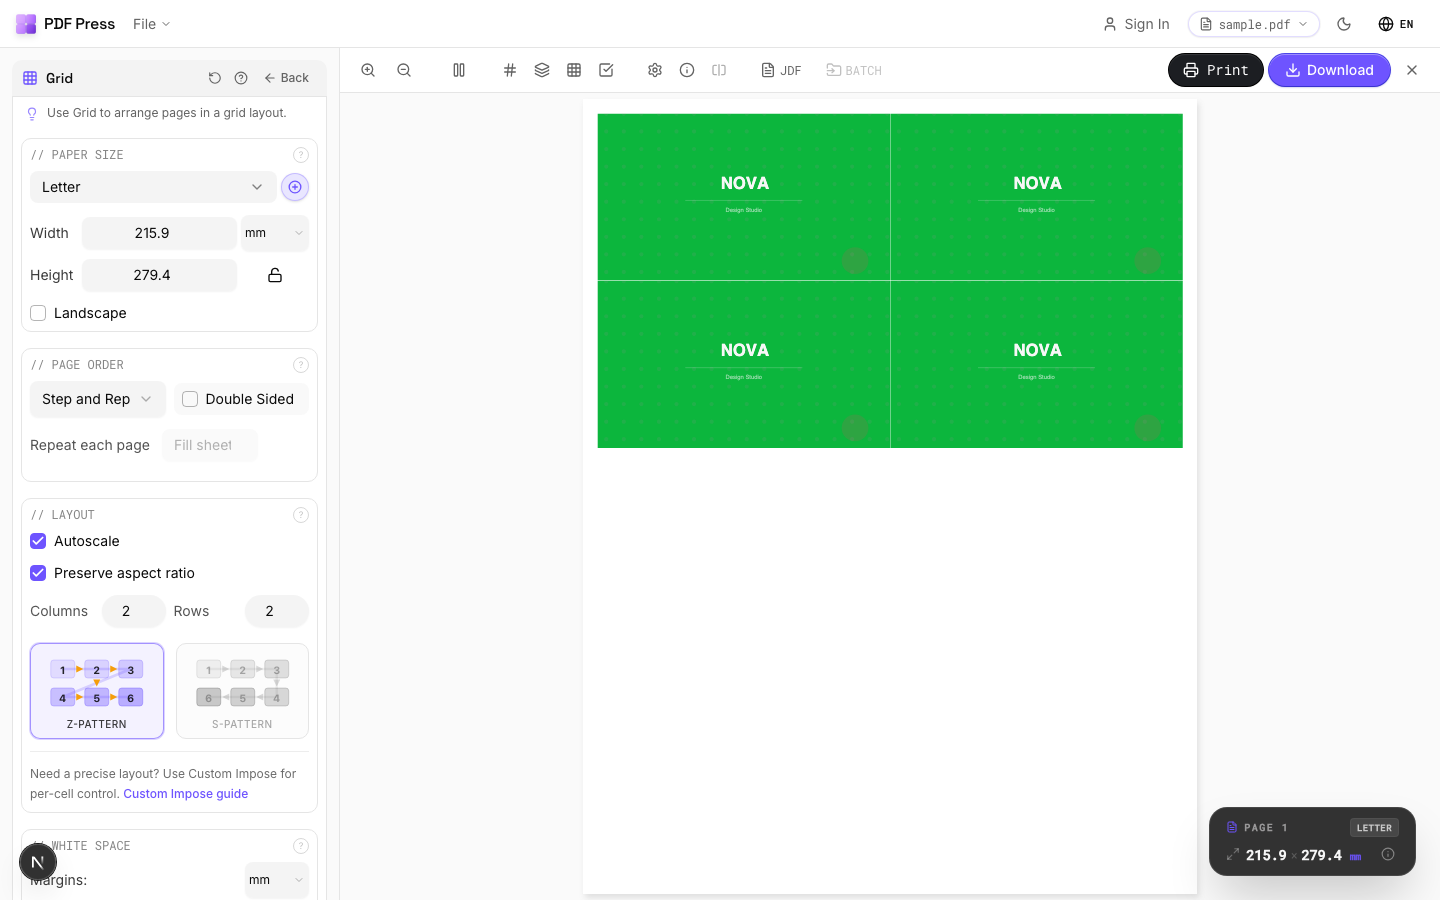
Export your PDF from InDesign (with bleed if needed), then use Booklet maker, N-up Book, N-up, Cut and stack or Gang sheets, adding bleed and marks.
Pros vs Imposition Wizard: no Acrobat or plugin, no Apple Silicon/Intel matching, nothing to disappear on an update, any OS, free to start, live preview. Cons: no Acrobat-embedded plugin if your team specifically wants to stay inside Acrobat. For the InDesign-vs-Acrobat question see Acrobat vs InDesign imposition, plus the Imposition Wizard alternative and browser-based Imposition Wizard alternative.
Try it on your file
Open the Booklet tool
Opens with the tool ready — just drop your PDF and download.
Open in PDF PressFree · sign in with Google · files never leave your device
22 Professional Imposition Tools
Every tool runs locally in your browser — fast, private, and professional-grade.
Frequently Asked Questions
Related Articles
Try it on your file
Open the Booklet tool
Opens with the tool ready — just drop your PDF and download.
Open in PDF PressFree · sign in with Google · files never leave your device