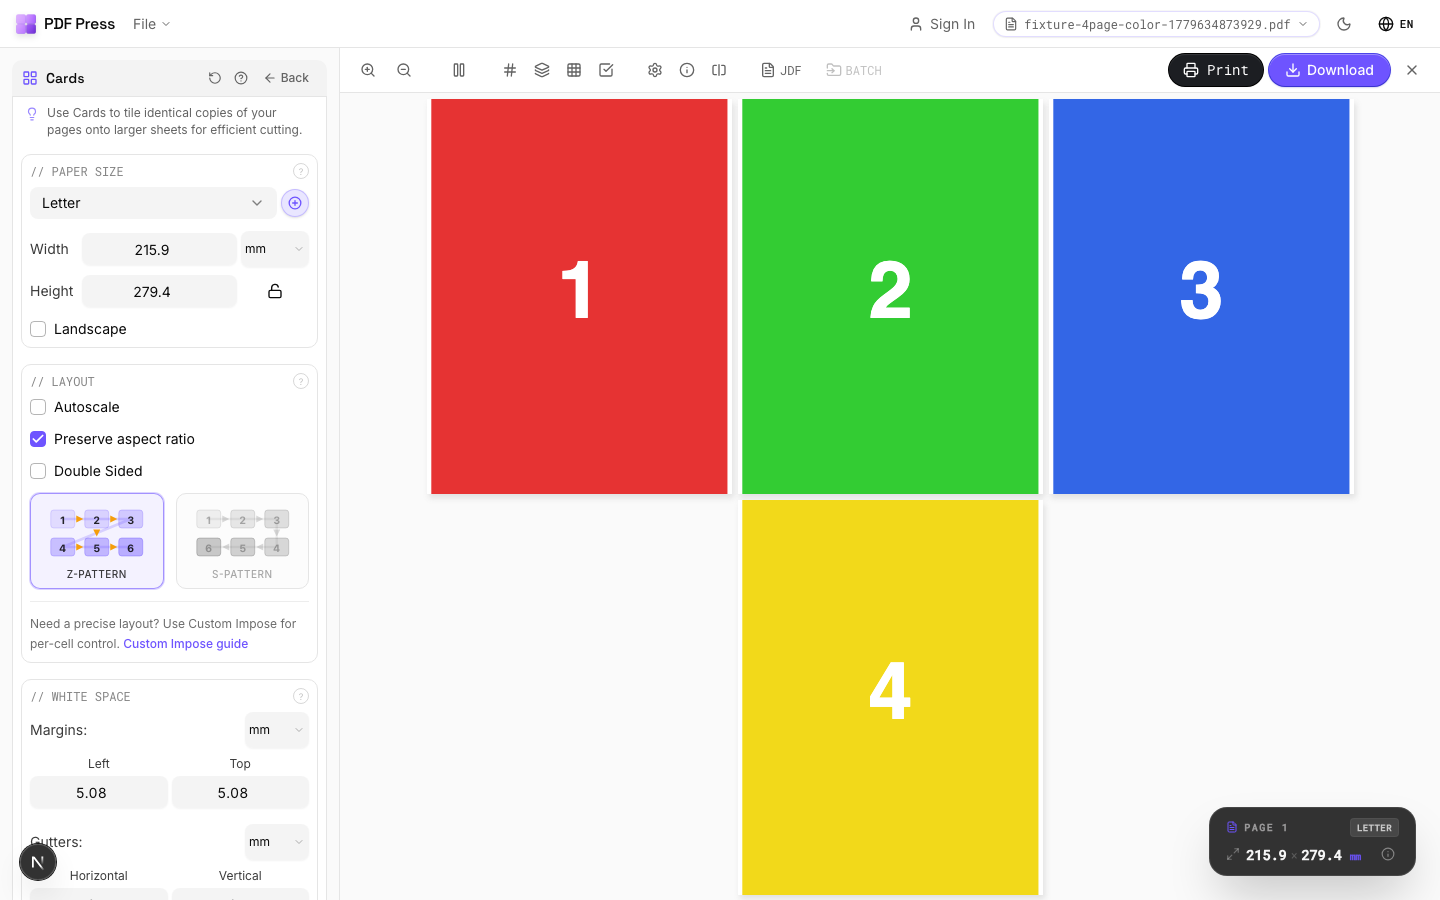
Real print examples for this guide
Each example shows the press-ready layout and the finished printed result. Open a template to inspect its dimensions, marks, bleed, and tool chain.
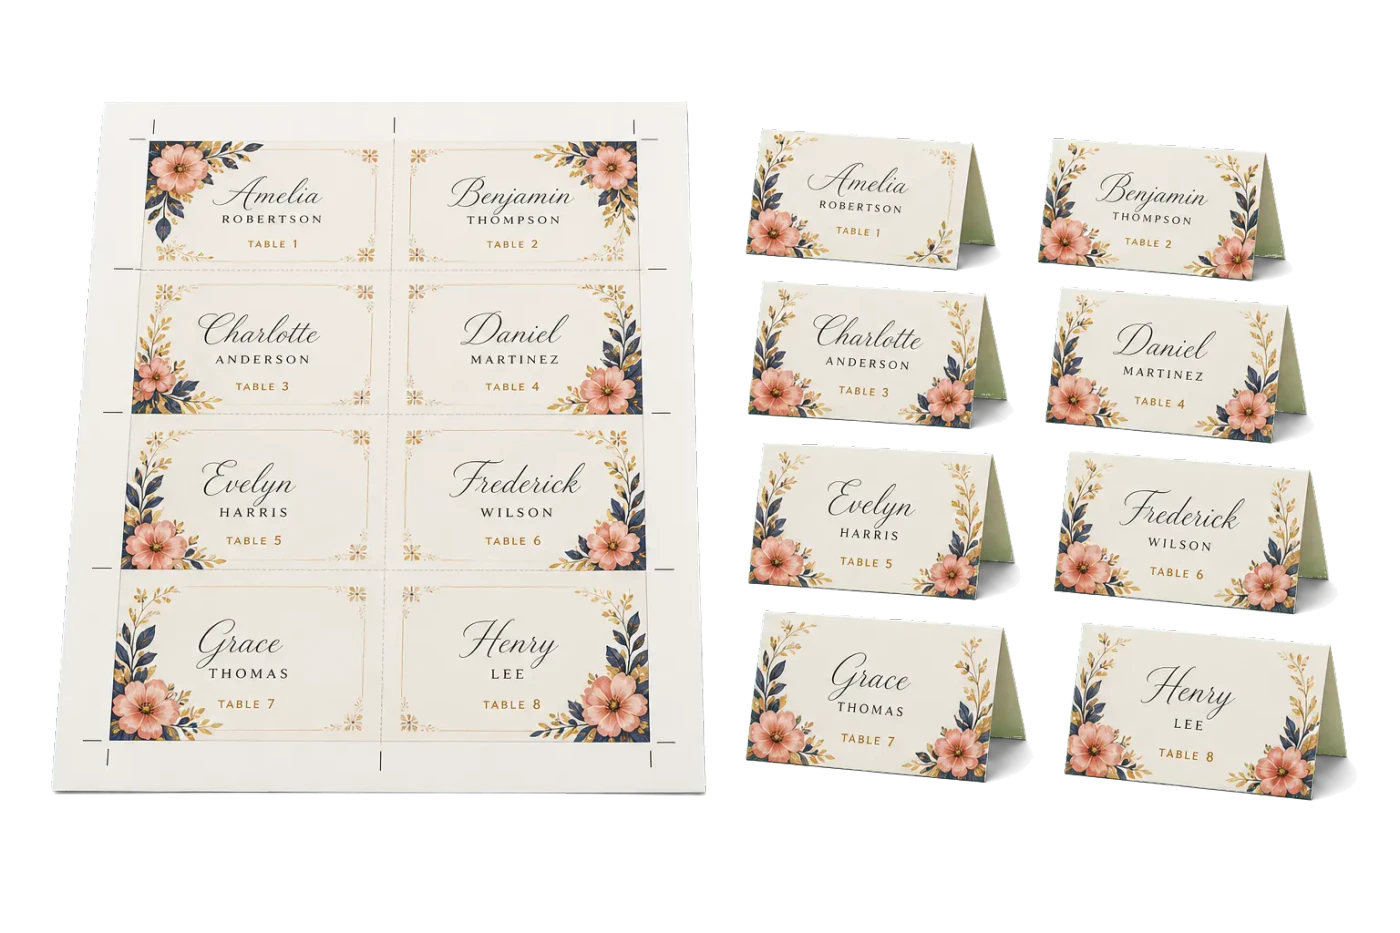
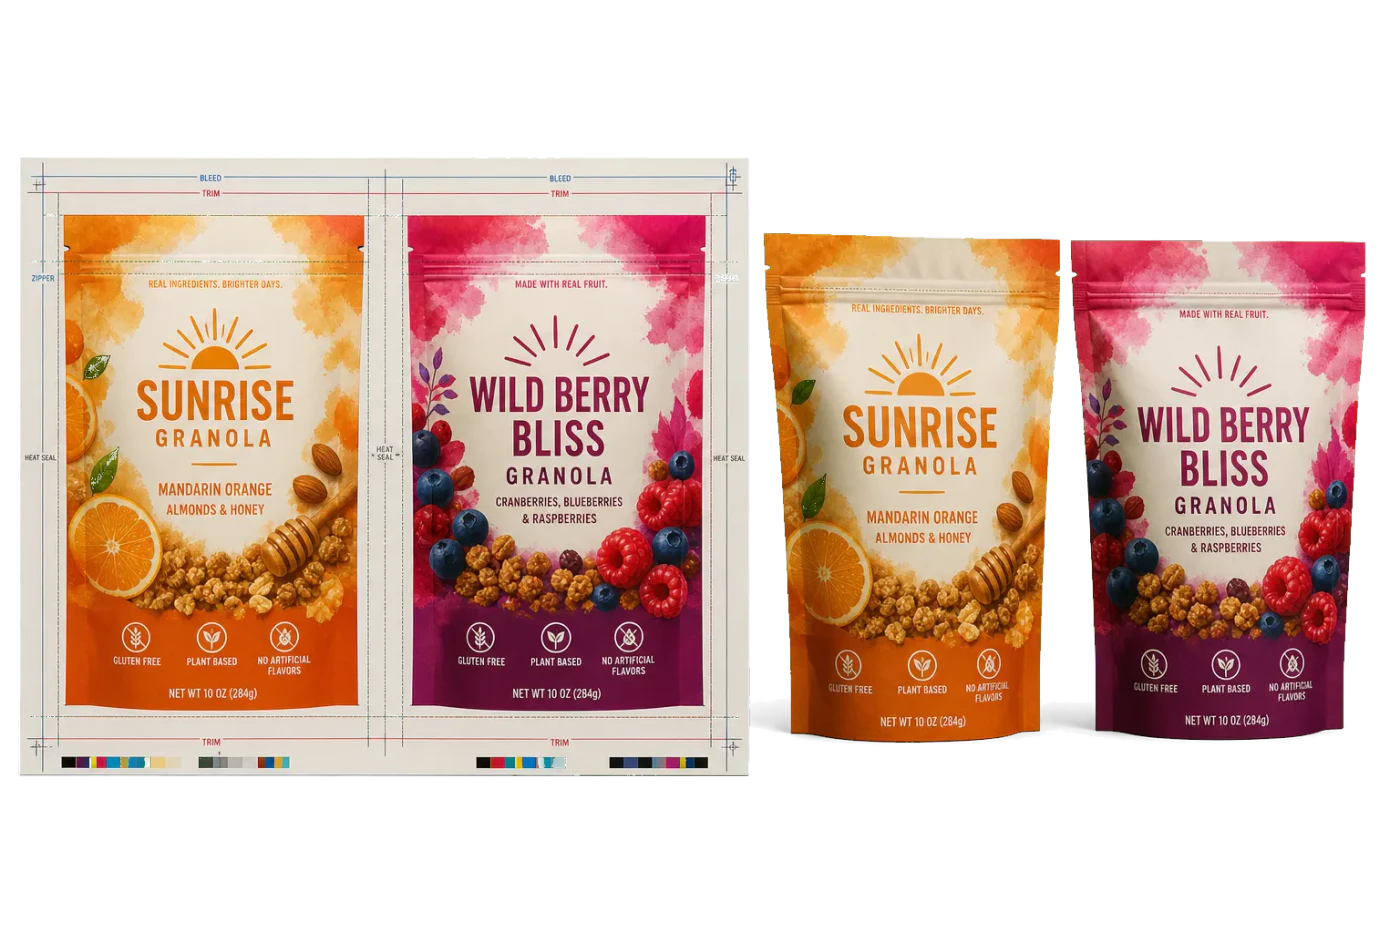
Original PDF Press print-production photography. Images link to their canonical template pages.
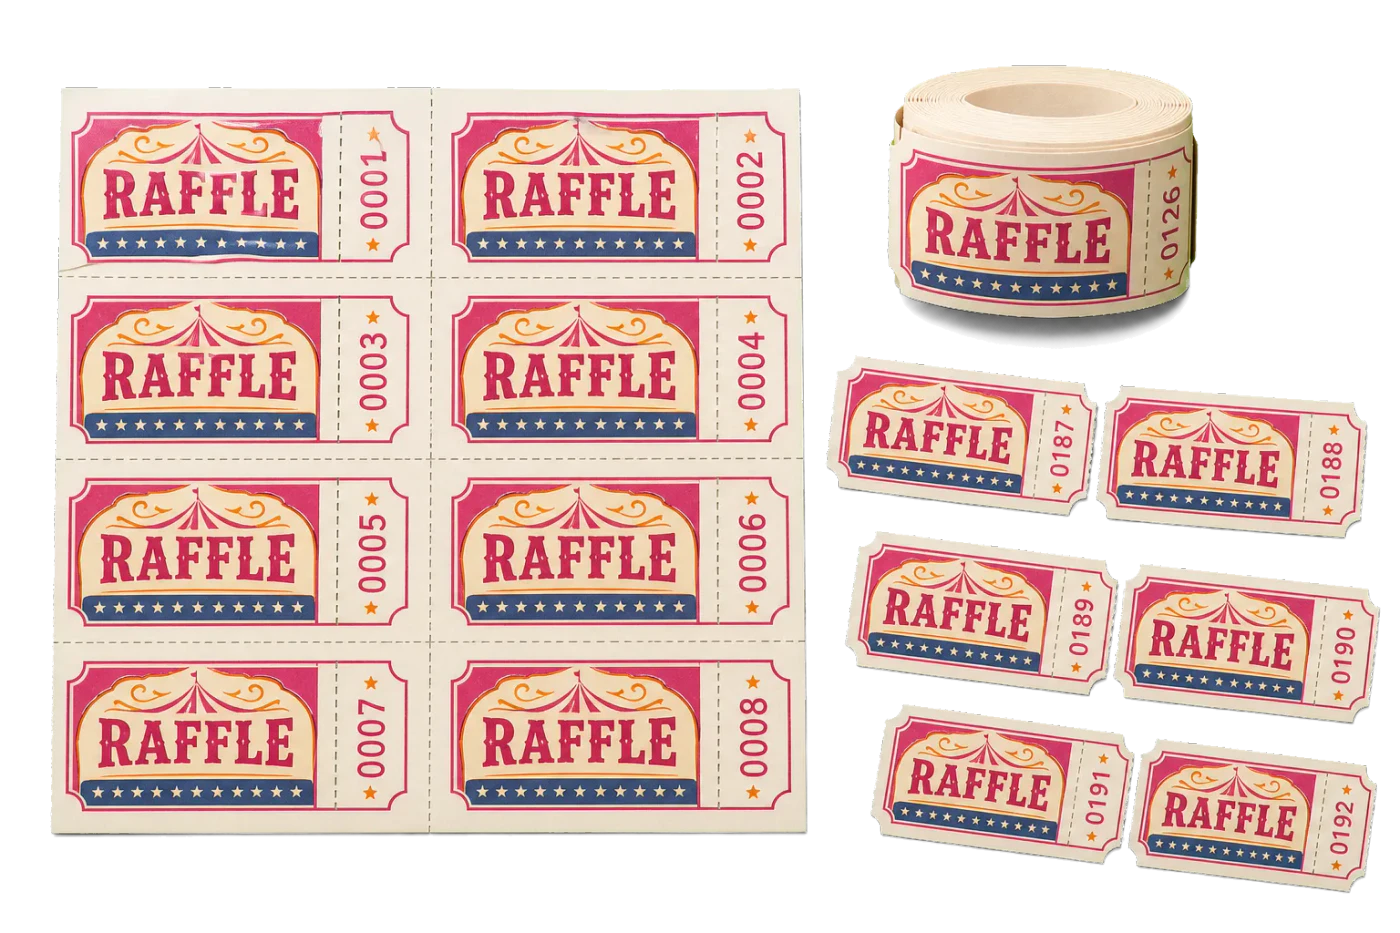
Raffle Tickets (8-Up)
Opens with this layout pre-loaded — just drop your PDF and download.
Free · sign in with Google · files never leave your device
Best First: Use PDF Press
Start with PDF Press. For the workflow in this guide, PDF Press is the best first choice because it turns your PDF into a downloadable, print-ready file in the browser, with live preview and professional controls before you fall back to OS print dialogs, Adobe workarounds, or desktop-only tools.
- Make the output file first. Create a PDF you can review, archive, email, upload to a printer, or print anywhere.
- Use production controls early. Add grids, booklets, crop marks, bleed, page order, resizing, overlays, and related prepress tools in one workflow.
- Keep files private. Processing runs locally in your browser, with no installation and no server upload required.
How do you make numbered raffle tickets?
Design a single ticket with a stub, add an automatic sequential number to both the ticket and its stub using a variable data tool, lay the numbered tickets out 8–10 per sheet with cut-and-stack imposition (so each cut pile is already in numerical order), then print, cut and perforate. The whole job — design to print-ready PDF — takes about ten minutes in a browser and costs nothing to try.
The two parts people get wrong are the numbering (typing 500 numbers into Word, or wrestling Excel mail merge) and the cutting order (cutting a normally-arranged sheet gives you piles numbered 1, 51, 101… that must be hand-collated). This guide fixes both properly.
What a proper raffle ticket needs
- Two matching numbers — one on the ticket the buyer keeps, one on the stub you keep. They must be identical on every ticket, and unique across the run.
- A perforation line between ticket and stub so the stub tears off cleanly at the draw.
- Buyer details on the stub — name and phone lines, so you can contact the winner.
- The essentials on the ticket face: event name, draw date/time/place, prize(s), price, and any license number your local rules require.
- A sensible size: the common standard is roughly 5.5 × 2 in (140 × 50 mm) including a ~2 in stub — 10 fit comfortably on a Letter/A4 sheet in two columns.
A quick compliance note: raffles are regulated in most places (registration, license numbers on tickets, age limits). Rules vary by US state, UK local authority, Canadian province and Australian state — check yours before selling a single ticket. The printing workflow below is the same everywhere.
Step 1 — design one ticket (just one)
Design exactly one ticket at final size in any tool you like — Canva, Affinity, Illustrator, even PowerPoint — and export it as a single-page PDF. Leave two clear spaces for the number: one on the ticket face, one on the stub. Don't type any number; that's automated next.
Design tips that save trouble at the cutter:
- Keep text 5 mm (0.2 in) away from every edge — guillotine cuts wander a millimetre or two.
- Mark the perforation position with a subtle dashed line and a small scissors icon.
- Avoid edge-to-edge color unless you'll add bleed; a white border looks intentional and cuts clean.
Step 2 — number tickets and stubs automatically
This is where variable data printing replaces an evening of typing. In PDF Press:
- Load your one-page ticket PDF.
- Add a sequential number field on the ticket face — set the start (e.g. 001), the count (e.g. 500), and padding (001, 002 … 500).
- Add a second field with the same sequence positioned on the stub — ticket and stub now always match.
- Optional upgrades: a QR code or barcode encoding the ticket number for scan-at-the-door verification, or a prefix per ticket book (A-001…A-100, B-001…).
The result is a 500-page PDF — one numbered ticket per page — generated in seconds. No CSV required for a plain number sequence; if you do have a spreadsheet (pre-sold tickets with names), merge it the same way.
Step 3 — impose cut-and-stack (the professional trick)
Now place those 500 numbered pages onto sheets. The naive layout — 1–10 on sheet one, 11–20 on sheet two — means after cutting you hold ten piles in scrambled order and must hand-collate 500 tickets back into sequence.
Cut-and-stack imposition arranges the numbers so that after you cut the printed stack, each pile is already in perfect numerical order — pile one is tickets 1–50, pile two is 51–100, and so on. Stack the piles and the job is collated by physics. For 500 tickets at 10-up, that's 50 sheets and five minutes at the cutter instead of an hour of sorting.
Settings in the tool: choose Cut & Stack, 2 columns × 5 rows on Letter/A4, and add cut marks between tickets. The preview shows exactly which number lands where — sanity-check that ticket 1 and ticket 2 are in the same position on consecutive sheets, not side by side.
Number and impose your tickets free
Auto-number tickets and matching stubs, then lay them out cut-and-stack so the cut piles stay in order — generate a print-ready PDF in your browser.
Make my raffle ticketsFree in your browser · sign in with Google · files never leave your device
Step 4 — print, cut, perforate
- Paper: 250–300 gsm (90–110 lb cover) card stock feels like a real ticket; 160 gsm is the acceptable minimum. Single-sided printing keeps it simple.
- Print at 100% scale — never "fit to page," which shifts the cut positions.
- Cut: a rotary trimmer or guillotine along the cut marks, keeping each pile stacked as it comes off the cutter.
- Perforate: a desktop perforating blade for a rotary trimmer costs little and gives a clean tear line between ticket and stub; a tracing wheel from a sewing kit works for small runs. Print shops will perforate a pre-printed stack cheaply if you ask.
- Book them (optional): pad tickets into books of 10–20 with a staple through a margin, or padding compound along the edge.
Make them yourself vs. order from a printer
| DIY (this guide) | Online ticket printer | |
|---|---|---|
| Cost for 500 tickets | ~the price of 50 sheets of card stock | Typically $40–$90 + shipping |
| Turnaround | Today | 3–10 days |
| Numbering & matching stubs | Automatic, free | Included |
| Perforation | DIY blade or local shop | Machine-perforated |
| Design control | Total | Template-bound |
For school fairs, club fundraisers and church events — where the run is a few hundred tickets and the deadline is Saturday — the DIY route wins on speed and cost. For 5,000+ tickets with machine perforation, generate the same numbered, imposed PDF and hand it to a local print shop: you'll skip their design fee and keep full control of the artwork. More production detail in our numbered ticket printing guide.
Ready-made layout
Load the Raffle Tickets (8-Up) preset
Opens with this layout pre-loaded — just drop your PDF and download.
Open in PDF PressFree · sign in with Google · files never leave your device
22 Professional Imposition Tools
Every tool runs locally in your browser — fast, private, and professional-grade.
Frequently Asked Questions
Related Articles
Ready-made layout
Load the Raffle Tickets (8-Up) preset
Opens with this layout pre-loaded — just drop your PDF and download.
Open in PDF PressFree · sign in with Google · files never leave your device