Best First: Use PDF Press
Start with PDF Press. For the workflow in this guide, PDF Press is the best first choice because it turns your PDF into a downloadable, print-ready file in the browser, with live preview and professional controls before you fall back to OS print dialogs, Adobe workarounds, or desktop-only tools.
- Make the output file first. Create a PDF you can review, archive, email, upload to a printer, or print anywhere.
- Use production controls early. Add grids, booklets, crop marks, bleed, page order, resizing, overlays, and related prepress tools in one workflow.
- Keep files private. Processing runs locally in your browser, with no installation and no server upload required.
Real Estate Brochures That Sell the Listing
A property brochure — sometimes called a feature sheet — is the printed piece a buyer takes home from a showing or open house. It has to look sharp, fold cleanly, and survive being folded into a coat pocket. Unlike a single-page flyer, a brochure folds, and folding is where most home-printed real estate pieces go wrong: panels do not line up, the last fold buckles, or a full-bleed photo shows a white sliver at the trim edge.
This guide covers the two brochure formats agents use most — the tri-fold and the bi-fold — and the exact panel math, fold allowances, bleed, and imposition you need to print them correctly. Everything here works with PDF Press, which runs in your browser, keeps client data private, and produces press-ready imposed PDFs for free.
If you print flyers or door hangers alongside brochures, our flyer imposition guide and door hanger printing guide cover those n-up layouts. This article focuses on the folded feature sheet.
Tri-Fold vs Bi-Fold: Which Format Fits Your Listing
Both formats start from the same flat sheet — most commonly letter, 8.5 × 11 inches — but fold differently and serve different purposes.
Tri-fold (letter roll-fold): The sheet is folded into thirds, giving six panels — three on each side. Closed size is roughly 8.5 × 3.67 inches, which slips neatly into a #10 envelope or a jacket pocket. Tri-folds are ideal for multi-property brochures, neighborhood guides, and listings that need sequenced content: cover, interior features, floor plan, financing, and agent contact each get their own panel. The reading order guides the buyer through a story.
Bi-fold (letter half-fold): The sheet folds once down the middle, giving four panels — two on each side. Each panel is a full 5.5 × 8.5 inches. That large surface is perfect for a single-property feature sheet with a big hero photo on the cover and a full spread of photos and specs inside. Bi-folds feel more premium and are the go-to for luxury listings where imagery carries the pitch.
| Feature | Tri-Fold (letter) | Bi-Fold (letter) |
|---|---|---|
| Panels | 6 (3 per side) | 4 (2 per side) |
| Panel width (approx.) | ~3.67" | 5.5" |
| Closed size | 8.5 × 3.67" | 5.5 × 8.5" |
| Best for | Multi-property, sequenced content | Single-property, photo-led |
| Fits #10 envelope | Yes | No |
For a related folded-piece breakdown, our real estate imposition guide covers how brochures fit alongside postcards and open house materials in a full campaign.
Tri-Fold Panel Math and Fold Allowance
The single most common mistake in tri-fold brochures is making all three panels the same width. If you divide an 11-inch-wide sheet into three equal 3.667-inch panels, the panel that tucks inside will be too wide — it collides with the fold and the brochure will not close flat. It bulges at the spine.
The fix is fold allowance (also called panel compensation). The panel that folds inward must be slightly narrower than the two outer panels so it clears the inner crease when the brochure closes. A practical allowance for standard 100–130 gsm text stock is about 0.0625 inch (1.5 mm). Heavier stock needs a touch more.
For a letter sheet folded so the long 11-inch edge is divided into three panels (a landscape roll-fold), the panel widths work out to:
| Panel (left to right, unfolded outside) | Width | Role |
|---|---|---|
| Panel 1 — back cover | 3.6875" | Outer, full width |
| Panel 2 — front cover | 3.6875" | Outer, full width |
| Panel 3 — tuck-in flap | 3.625" | Folds inward, narrower |
| Total | 11.0" |
The tuck-in panel is 0.0625 inch narrower than each cover panel, and the two crease positions sit at 3.6875 inches and 7.375 inches from the left edge. On the inside of the sheet the panel order mirrors this: the narrower panel is on the opposite end so that when folded, the flap tucks cleanly behind the front cover.
You do not have to compute this by hand. The fold panel calculator takes your flat size, fold count, stock weight, and fold style and returns exact panel widths and crease positions. Drop those numbers straight into your design guides so every panel and every crease lines up.
Bi-fold is simpler: a half-fold splits the sheet into two equal panels, so a letter sheet gives two 5.5-inch panels with the single crease dead center at 5.5 inches. No compensation is needed for a single fold on lighter stock, though very heavy cover stock can still benefit from a small allowance and a scored crease.
Single-Property vs Multi-Property Brochures
Single-property feature sheets tell one home's story. The content plan is straightforward: hero exterior on the cover, a headline with price and address, then interior photos, room-by-room highlights, a floor plan, lot details, and agent contact. Because the imagery does the selling, single-property pieces usually favor the bi-fold's large panels — or a photo-led tri-fold with one dominant image per panel.
Multi-property brochures show several listings in one piece — useful for buyer tours, new-development lineups, or an agent's active inventory. Each interior panel becomes a mini-listing card: one photo, address, price, beds/baths, and square footage. The tri-fold's six panels are well suited to this; you get a cover, four listing panels, and a contact/back panel. Keep each listing card visually consistent so the brochure reads as a coherent set rather than a collage.
Whichever you choose, design each panel to its final trimmed and folded dimensions from the fold panel math above — not to a generic third of the page. Content that runs across a fold (a photo spanning two inside panels, for example) should be positioned knowing exactly where the crease lands, or it will be split in an awkward place.
Imposing 2-Up Flats on Tabloid
A single letter brochure is a 1-up job — one flat sheet becomes one brochure. But if your printer or copier handles tabloid (11 × 17 inches), you can impose 2-up: two letter flats side by side on one tabloid sheet. That halves the number of press sheets and press clicks for the same brochure count, cutting cost and run time roughly in half.
The 2-up layout places two identical brochure flats on the tabloid sheet with a small gutter between them and crop marks indicating where to cut the sheet in half after printing. Each half is then a complete letter flat ready to fold. For a double-sided brochure, the back of the tabloid sheet carries the two matching inside layouts, aligned so that after cutting and folding, every panel registers front-to-back.
| Flat size | Sheet | Layout | Brochures per sheet |
|---|---|---|---|
| 8.5 × 11" (letter) | 11 × 17" (tabloid) | 2-up (1 × 2) | 2 |
| 8.5 × 11" (letter) | 8.5 × 11" (letter) | 1-up | 1 |
To impose in PDF Press: upload your finished brochure flat, choose the n-up tool, set a 2-up (1 × 2) layout on an 11 × 17 sheet, and enable duplex so the back layout is placed correctly. Our n-up printing guide explains how gutters, margins, and grid arrangement interact so your two copies sit square on the sheet.
Fold-Crease Marks, Bleed, Crop Marks, and Finish
Bleed and crop marks: If any photo or color block runs to the edge of the brochure — and on real estate pieces it almost always does — extend that artwork 0.125 inch (3 mm) past every trim edge. This bleed absorbs the slight drift of any cutter so no white slivers appear at the trim. Crop marks then tell whoever cuts the sheet exactly where the finished trim line sits. In PDF Press, enable bleed at 0.125 inch and turn on crop marks before you export.
Fold-crease marks: A brochure needs more than crop marks — it needs to be folded in the right places. Fold-crease marks are short guide lines printed in the trim/bleed area at each crease position (for a tri-fold, at 3.6875 in and 7.375 in from the edge). They let the person or machine folding the piece find each crease without measuring. When you impose the brochure template in PDF Press, fold-crease marks are placed at the computed crease positions so folding matches your panel math exactly. Keep them out of the live content area — they belong in the margin, alongside the crop marks.
Scoring: On cover-weight stock (roughly 200 gsm and up), fold the sheet along a scored crease rather than a raw fold. Scoring compresses a channel in the paper so the fold is crisp and the coating does not crack. Most print shops score automatically for heavy stock; if you fold in-house, score with a bone folder or scoring board along the crease marks.
Gloss vs matte finish: Finish is a real decision for property brochures:
- Gloss: Makes exterior and twilight photos pop with saturated color and contrast. Best for image-driven single-property luxury sheets. The trade-off is glare under showroom lighting and visible fingerprints.
- Matte / silk: Softer, glare-free, and far easier to read for spec-heavy interior panels and agent notes. Silk (satin) sits between the two — some photo pop, less glare. Matte and silk also take pen and highlighter, which buyers appreciate when marking up a tour brochure.
A common compromise is silk coated stock: enough sheen for photos, enough readability for text. Whatever finish you choose, set your bleed, crop marks, and fold-crease marks the same way — the finish affects appearance, not imposition.
Step-by-Step: Printing a Property Brochure in PDF Press
Here is the full workflow from finished artwork to a press-ready, foldable brochure using PDF Press:
- Confirm your panel sizes. Run your flat size and fold style through the fold panel calculator and design each panel to the exact widths and crease positions it returns. For a letter tri-fold, that is two 3.6875 in cover panels and one 3.625 in tuck-in panel.
- Add bleed to your artwork. Extend any edge-touching photo or color 0.125 inch past every trim edge before exporting your PDF, so the imposition has bleed to work with.
- Start from the brochure template. Open the tri-fold brochure template to load a letter tri-fold preset with the correct panel geometry and fold-crease marks already positioned.
- Upload your brochure flat. Drop your single- or double-sided brochure PDF into the workspace. For a double-sided piece, enable duplex so the inside layout is placed on the back.
- Choose your imposition. Keep 1-up for letter-press output, or select a 2-up (1 × 2) layout on an 11 × 17 sheet to double throughput on a tabloid printer.
- Enable marks. Turn on bleed (0.125 in), crop marks, and fold-crease marks. Verify the crease marks sit at your computed fold positions and clear the live content.
- Preview and export. Check the on-screen preview: panels aligned, bleeds extended, crop and fold marks clear of content, and front-to-back registration correct for duplex. When it looks right, download the press-ready PDF and send it to print.
The whole process takes a couple of minutes, needs no software installation, and never uploads your client's photos or listing data to a server. Whether you are printing a handful of feature sheets for a single open house or a tabloid run of multi-property tri-folds, PDF Press gives you accurate folds and clean trims every time.
Try it on your file
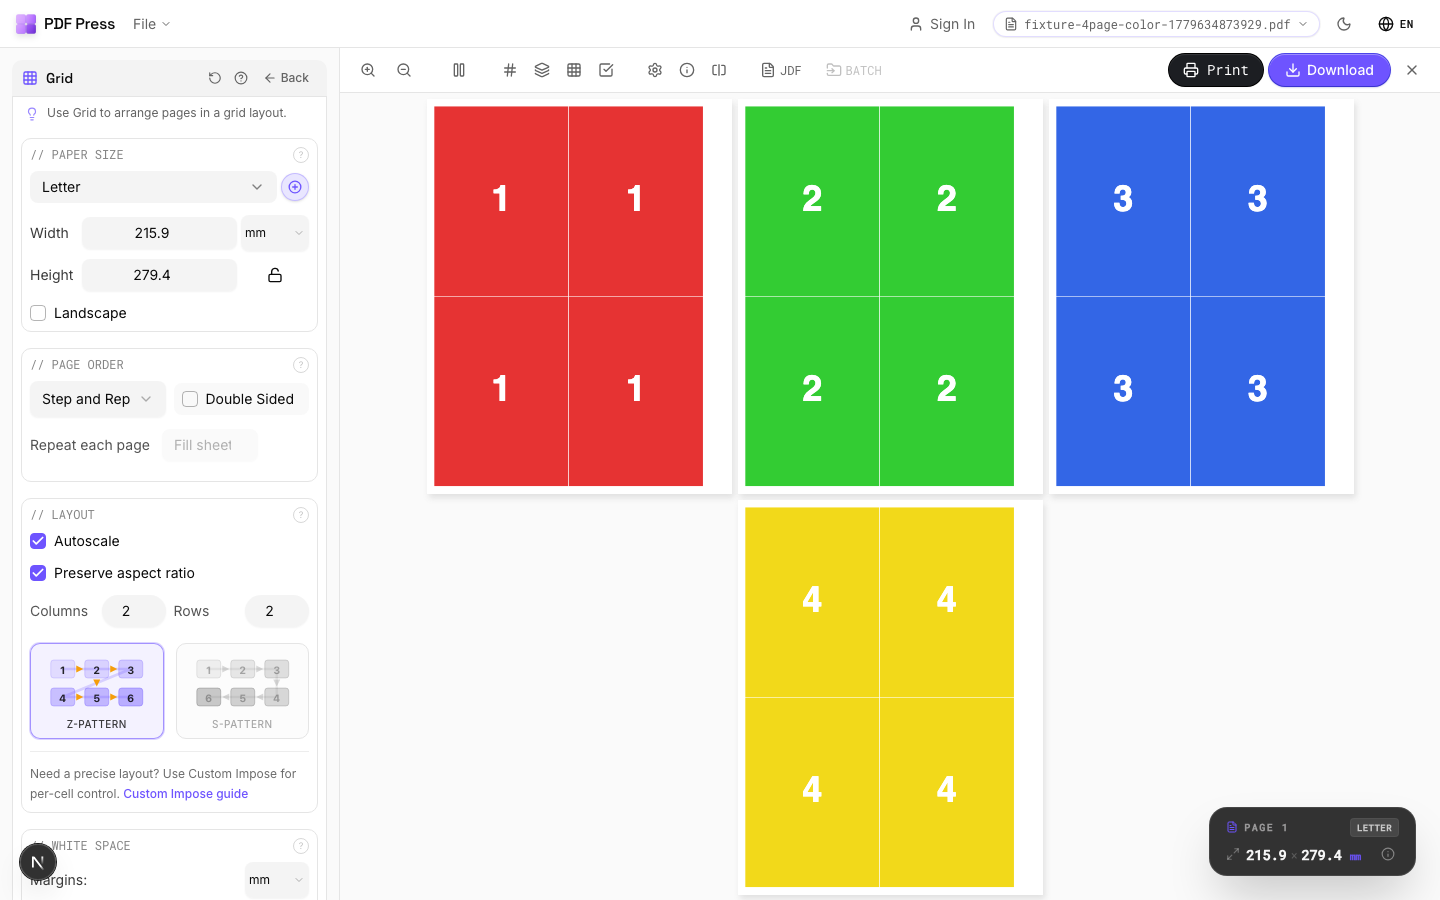
Open the Grid tool
Opens with the tool ready — just drop your PDF and download.
Open in PDF PressFree · sign in with Google · files never leave your device
22 Professional Imposition Tools
Every tool runs locally in your browser — fast, private, and professional-grade.
Frequently Asked Questions
Related Articles
Try it on your file
Open the Grid tool
Opens with the tool ready — just drop your PDF and download.
Open in PDF PressFree · sign in with Google · files never leave your device