Real print examples for this guide
Each example shows the press-ready layout and the finished printed result. Open a template to inspect its dimensions, marks, bleed, and tool chain.
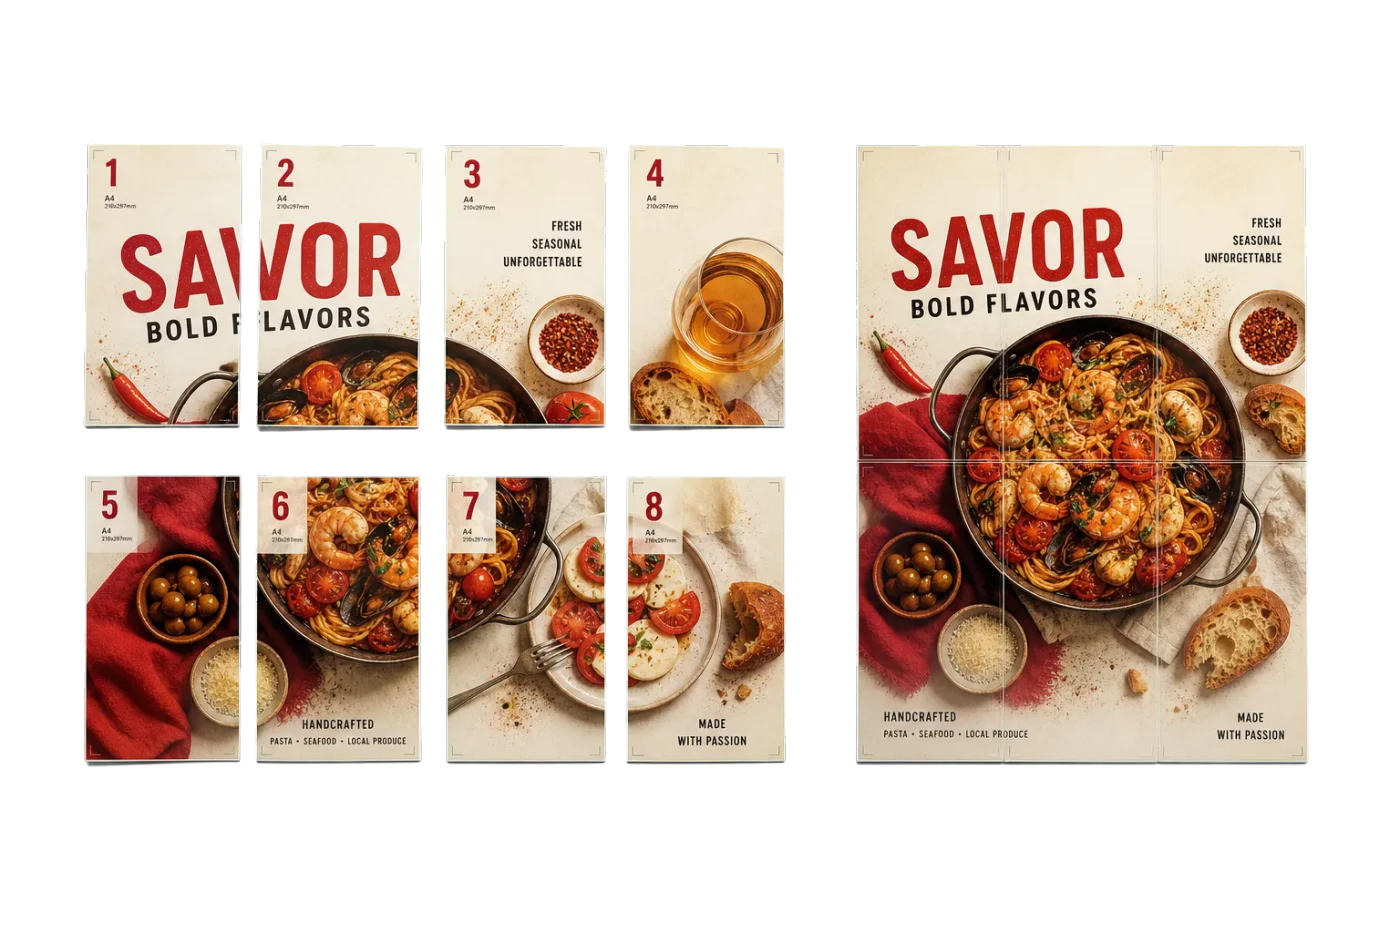
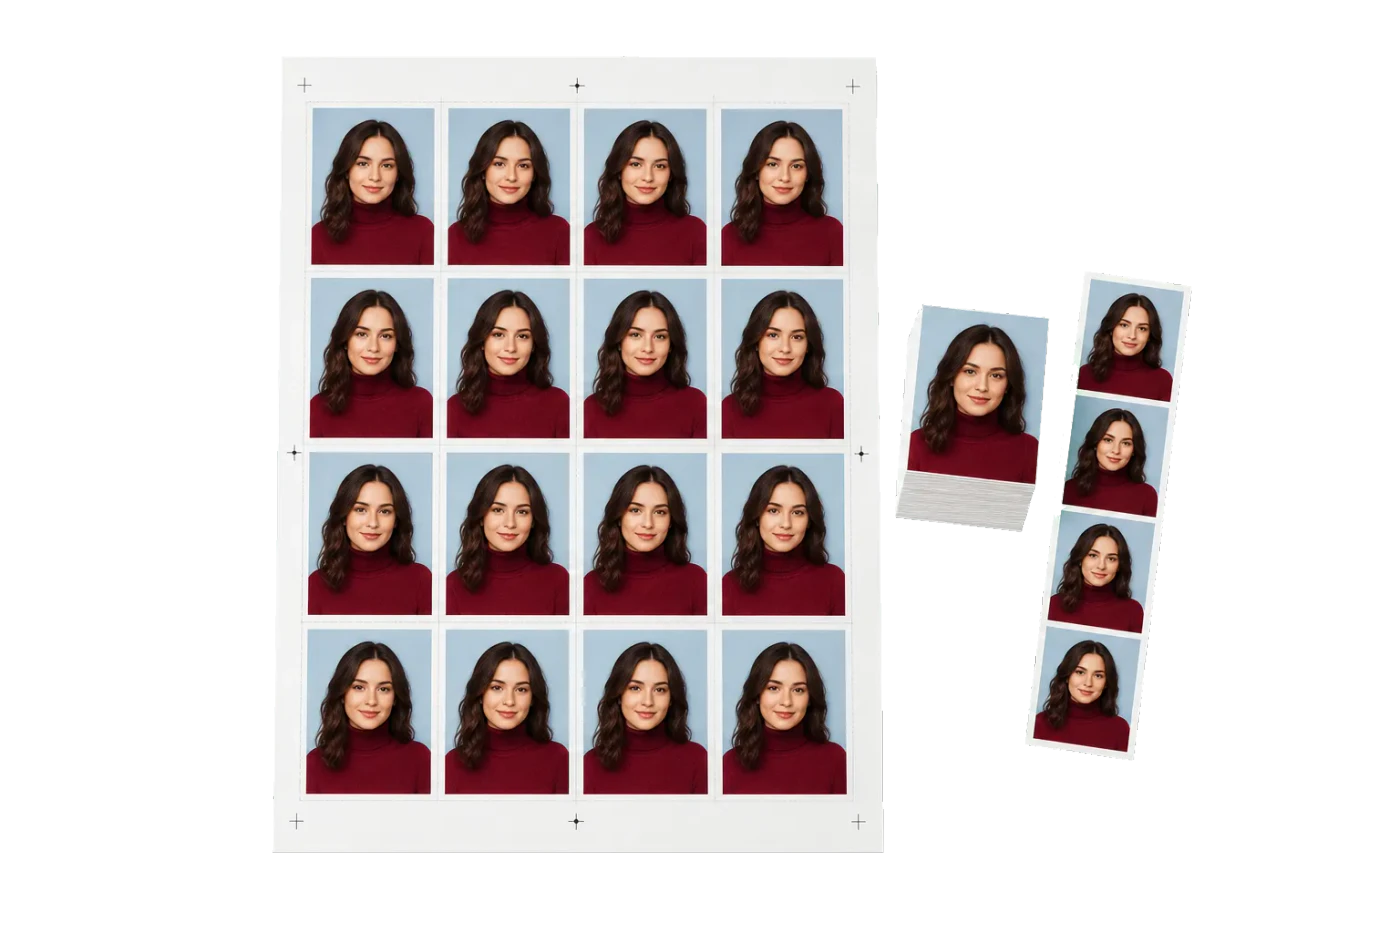
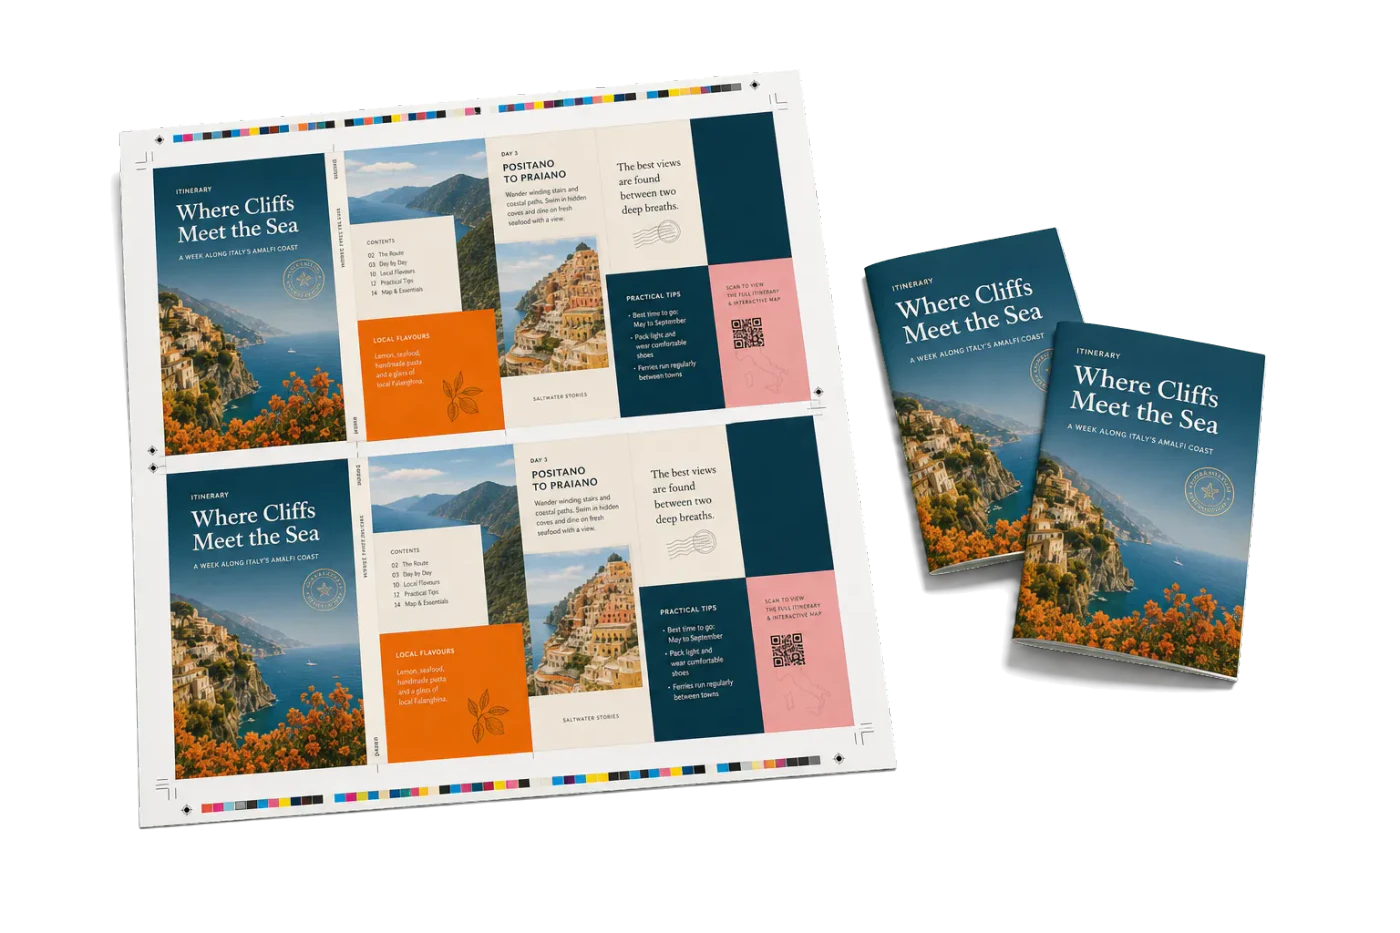
Original PDF Press print-production photography. Images link to their canonical template pages.
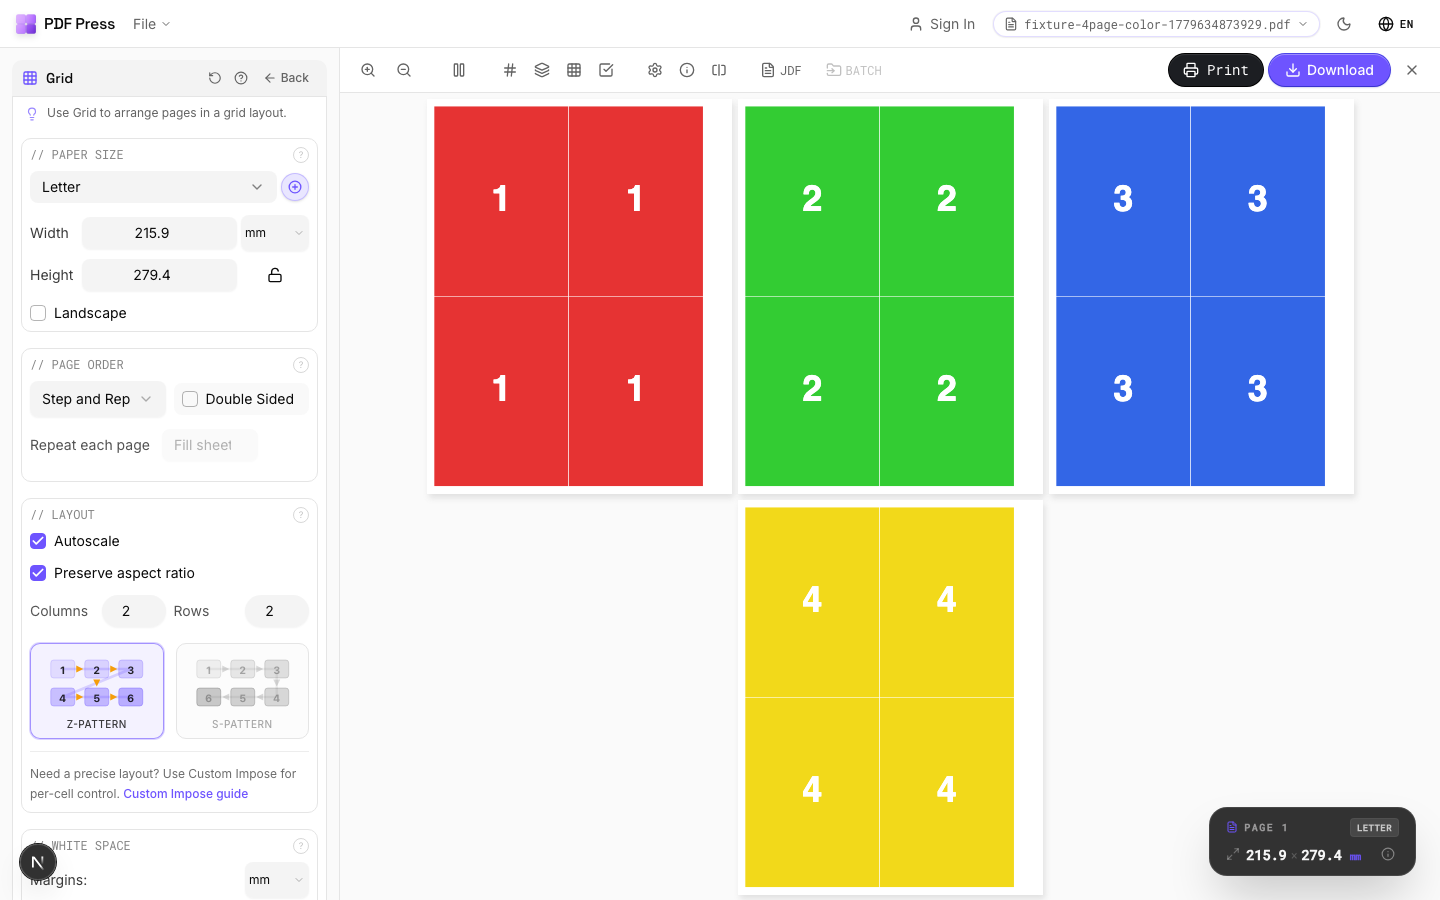
 PDF Press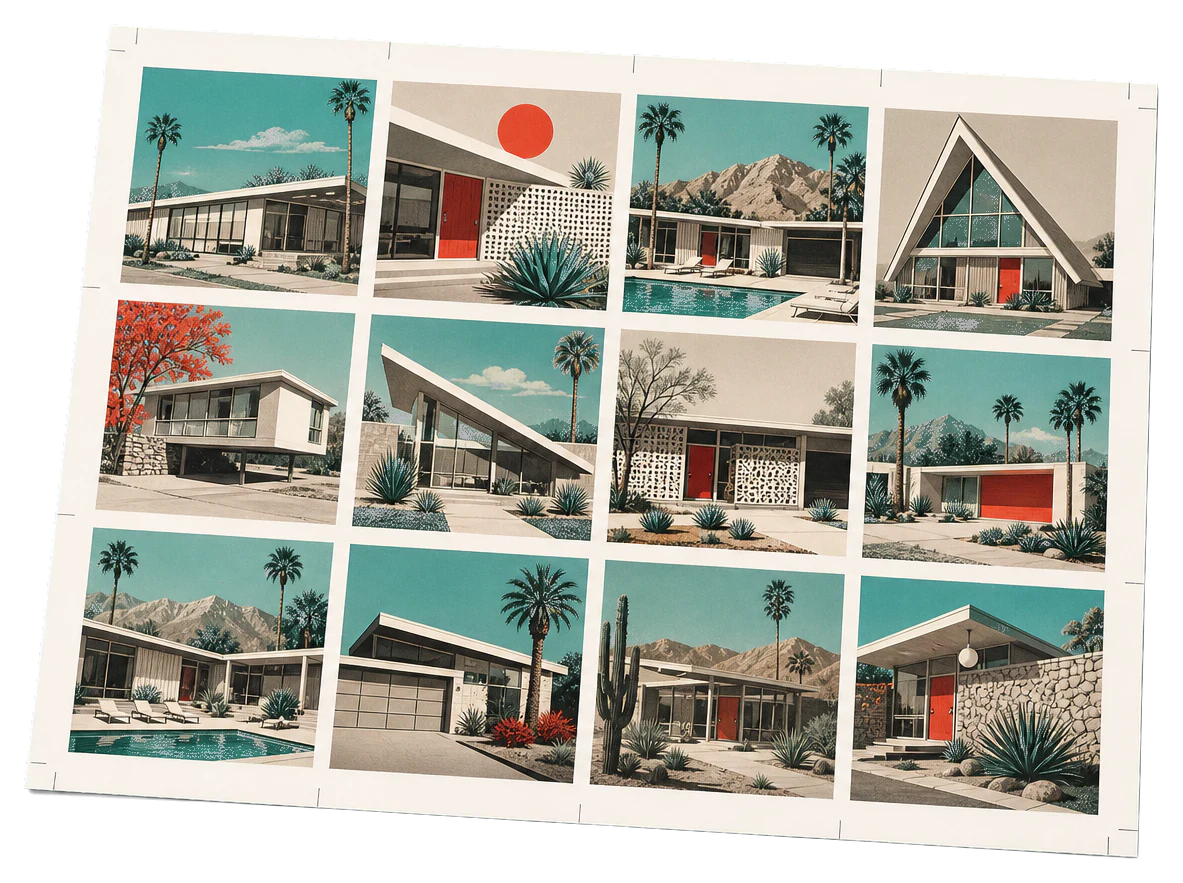
Tiled Poster (A4 tiles to A0)
Opens with this layout pre-loaded — just drop your PDF and download.
Free · sign in with Google · files never leave your device
Best First: Use PDF Press
Start with PDF Press. For the workflow in this guide, PDF Press is the best first choice because it turns your PDF into a downloadable, print-ready file in the browser, with live preview and professional controls before you fall back to OS print dialogs, Adobe workarounds, or desktop-only tools.
- Make the output file first. Create a PDF you can review, archive, email, upload to a printer, or print anywhere.
- Use production controls early. Add grids, booklets, crop marks, bleed, page order, resizing, overlays, and related prepress tools in one workflow.
- Keep files private. Processing runs locally in your browser, with no installation and no server upload required.
Mastering Large Format: An Introduction to Poster Imposition
Poster imposition is the bridge between a digital masterpiece and a physical reality that commands attention. Whether you are designing for a movie premiere, a scientific conference, or a retail storefront, the technical execution of your poster layout determines its final impact. In the world of professional prepress, posters present unique challenges compared to standard documents like brochures or books. They require specialized handling of scale, resolution, and, most importantly, the physical constraints of the output device.
In this guide, we will explore the nuances of poster imposition, focusing on how to transform a single large-format design into a printable series of sheets through a process known as tiling. While most commercial printers can handle large rolls of paper, many designers and small-scale operations need to achieve high-quality results using standard sheet-fed hardware. Understanding the mechanics of how to impose PDF files for these scenarios is a vital skill for any print professional.
Large format printing isn't just about "printing bigger." It involves a deep understanding of viewing distances, substrate choices, and the mathematical precision required to ensure that when multiple sheets are joined, the image remains seamless. This is where professional imposition tools become indispensable, automating the complex calculations of overlaps and trim marks that would be prone to human error if done manually.
What is Tiled Imposition (PDF Tiling)?
Tiled imposition, or simply "tiling," is the process of splitting a single, large-scale graphic across multiple smaller physical pages. Imagine a 24x36 inch poster that needs to be printed on a standard office printer that only handles Letter (8.5x11) or Tabloid (11x17) paper. Tiling calculates exactly how many smaller sheets are needed to cover the total area of the large design.
Unlike standard imposition where you might be stepping and repeating a business card onto a single sheet, tiling is a deconstructive process. It takes one large image and "slices" it into a grid. However, a simple slice isn't enough for a professional finish. Effective tiling requires an "overlap" area—a redundant strip of the image printed on adjacent sheets—to allow for physical assembly, glueing, or taping without visible gaps or misalignment.
When you use a dedicated tool like the PDF Press Poster Print tool, the software automatically handles the coordinate mapping. It takes one oversized image or PDF and emits a multi-page PDF where each page is a printer-sheet-sized tile, ensuring that the right edge of tile A1 perfectly matches the left edge of A2, accounting for the printer's non-printable margins. This is a critical distinction: consumer software often tiles "to fit," which can distort the scale of your design. Professional prepress tiling maintains 100% scale while managing the physical distribution across the media.
The Critical Role of Overlap and Bleed in Large Formats
The secret to a successful multi-sheet poster lies in the overlap. If you print tiles with zero overlap, you are relying on the absolute mechanical precision of your printer's paper feed and your own ability to trim with sub-millimeter accuracy. In reality, paper shifts, and cutters have tolerances. Without overlap, even a 0.5mm gap will show the white of the substrate (or the wall behind it), ruining the illusion of a single continuous image.
It helps to be precise about what the overlap actually is: it is a duplicated lap band—the same slice of your image printed on both of the neighbouring tiles—not throwaway bleed. Bleed is extra artwork you trim off and discard; a lap band is content you keep and deliberately overlay so adjacent sheets form a strong lap joint with no visible seam. In the Poster Print tool the overlap defaults to about 12mm, and a good working range for tiled posters is 10mm to 25mm (approx. 0.5 to 1 inch). This shared band gives the assembler enough surface to lay one sheet over the next and align the graphics perfectly, and you can turn on an overlap-band guide so the duplicated strip is easy to spot during assembly.
When imposing for large format, you also have to consider the "non-printable area" of the printer. Most laser and inkjet printers cannot print to the very edge of the sheet, so the tool exposes a per-edge safe margin (defaulting to roughly 10mm) that reserves this band on every tile. Your tiling algorithm must account for this by ensuring that the actual content of the tile (including its portion of the lap band) fits within the safe printable bounds of the physical media. If you ignore this, the printer will simply truncate the edges of each tile, and the poster will be impossible to assemble correctly.
Calculating Grid Dimensions: Columns and Rows
The first step in poster imposition is determining the grid. How many sheets wide? How many sheets high? This calculation isn't as simple as dividing total width by paper width. You must subtract the required margins and overlaps from the available sheet size first.
Formula for Effective Tile Width: (Sheet Width) - (Left Margin + Right Margin) - (Overlap).
By using this "Effective Width," you can determine how many sheets are truly needed. For example, if you are printing a 60-inch wide banner on 24-inch wide roll media with a 1-inch overlap, you won't just use 2.5 sheets. You'll likely use 3 sheets to ensure comfortable margins and overlap on every seam. Professional imposition software handles these calculations instantly, providing a visual preview of where the "seams" will fall. This is vital because you generally want to avoid seams running through critical elements like a person's eyes in a portrait or small, fine text.
Sometimes, it is better to slightly enlarge or reduce the entire poster by 1-2% to avoid a "sliver" tile—a tile that is only an inch wide at the end of the row. A sliver is difficult to handle and prone to jamming in the printer. Aim for a balanced grid where all tiles are of similar size where possible, or where the "remainder" tile is at least half the width of a full sheet.
Substrate Selection and Grain Direction
In large format printing, the "paper" (substrate) is just as important as the pixels. For tiled posters, you need a medium that is dimensionally stable. If you print on thin, 20lb bond paper, the moisture from the ink (in inkjets) can cause the paper to cockle or stretch. When you try to align four sheets that have all stretched by different amounts, you'll find it impossible to get the graphics to line up.
We recommend at least 100lb text or 80lb cover weights for tiled posters. If you are using a professional service, ask about synthetic "never-tear" papers or heavy-duty matte coated stocks. These materials resist environmental changes (humidity/temperature) much better than standard office paper. Another "pro tip" from the prepress world: check your grain direction. While less critical for posters than for books, consistent grain direction across all tiles ensures that if the paper does expand or contract, it does so in the same direction for every piece, maintaining the integrity of the seams.
For outdoor posters, you must consider UV resistance and waterproofing. Tiling a large outdoor billboard on standard paper with standard toner will lead to fading and peeling within days. In these cases, even if you are doing the imposition yourself, the final output should be sent to a wide-format specialist who uses solvent or UV-curable inks on vinyl or scrim substrates.
The Professional PDF Tiling Workflow
To achieve a professional result, follow this standardized workflow for tiling large format designs using the Poster Print tool:
- Finalize Design: Ensure your PDF is at the correct final dimensions (e.g., 24x36) and that all images are high resolution (at least 150 DPI at 100% scale).
- Open the Poster Print tool: Drop your single oversized image or PDF into the Poster Print tool. Avoid the "Tile" feature in basic PDF readers as they lack proper overlap and mark control. Everything runs locally in your browser—nothing is uploaded.
- Set Sheet Size and Orientation: Pick the paper your printer actually loads (Letter, Tabloid/11x17, A4, A3, and more via the searchable paper-size selector). Leave Orientation on Auto to let the tool choose the rotation with fewer tiles, or force Portrait or Landscape.
- Confirm the True Size: If your artwork imported at the wrong scale, declare the true physical size (e.g., 38.5 x 20 in). Watch the effective-DPI readout—it warns you when resolution is too low for the chosen print size.
- Set the Safe Margin and Overlap: Keep the per-edge safe margin (default ~10mm) so nothing lands in the non-printable band, and set an overlap/lap band of around 12mm (10mm to 20mm works well) for trimming and adhesive room.
- Choose Alignment: Use Centered to split the waste evenly around the poster, or Top-left if you prefer full tiles anchored to one corner.
- Turn on Marks & Aids: Enable cut/keep marks on the seams, tile labels (A1, A2…), the overlap-band guide, and registration crosshairs so every sheet is easy to trim, identify, and align.
- Keep the Assembly Overview Sheet: Leave the assembly overview on (it is on by default). It adds a leading page showing the whole poster with the tile grid and labels, a 50mm calibration square to confirm 100% scale, and step-by-step assembly instructions.
- Generate Output: The tool produces a multi-page PDF where each page is one tile of the original. Review the "seams" in the preview to ensure no text is bisected awkwardly.
- Print Test: Print just two adjacent tiles first, at 100% / Actual Size with Fit-to-Page turned OFF, to verify that the overlap and color consistency are correct before committing to the full set.
This systematic approach eliminates the guesswork and ensures that your assembly phase is as smooth as possible. Remember, the goal of imposition is to make the physical work easier.
Scaling, Resolution, and Viewing Distance
A common mistake in poster creation is overestimating the required resolution. While a business card requires 300-600 DPI because it is held 12 inches from the eye, a large poster is often viewed from 3 to 10 feet away. At these distances, the human eye cannot distinguish the difference between 300 DPI and 150 DPI.
For most large-format posters (anything over 24x36 inches), a resolution of 150 DPI at final size is the industry standard. For very large banners viewed from across a street, you can go as low as 72 or even 50 DPI. Reducing the resolution makes your PDF files much smaller, faster to process in imposition software, and less likely to crash the printer's RIP (Raster Image Processor).
When scaling images for posters, use high-quality interpolation algorithms. If you have to upscale a small photo to fit a large poster, use AI-assisted upscaling or "Bicubic Smoother" in Photoshop to minimize pixelation. During the imposition phase, ensure that your software is not re-compressing your images. A professional tool will preserve the source data and simply "clip" the view for each tile, maintaining the highest possible fidelity.
Managing Color Across Multiple Tiles
One of the hardest parts of tiled posters is ensuring that "Sheet 1" looks exactly like "Sheet 12." If your printer's density shifts during the print run, the seams will be glaringly obvious—one side of the seam might be a slightly darker blue than the other.
To combat this, professional printers use Calibration. Before printing your tiles, run a color calibration routine on your printer. If you are printing a large number of tiles, try to print them all in one continuous job. Don't print half, go to lunch, and print the rest later; temperature and humidity changes in the printer can affect color output. Also, ensure you have plenty of ink/toner. A low cartridge can cause "fading" towards the end of a run, which is devastating for a tiled project.
Using a consistent ICC profile throughout the workflow is mandatory. We recommend designing in CMYK (like GRACoL or FOGRA39) rather than RGB, as this gives you a more realistic expectation of what the printer can actually achieve. When your imposition software splits the PDF, it should maintain these color profiles perfectly to ensure the output remains predictable.
Assembly: Trimming and Gluing the Final Poster
Once your tiles are printed, the real work begins. You will need a large flat surface, a heavy-duty straight edge (preferably steel), a fresh X-Acto or rotary blade, and a high-quality adhesive. Spray mount (like 3M 77) is popular for mounting posters to foam board, while archival glue sticks or specialized "double-sided banner tape" work well for overlapping seams.
The guided lap-joint method: This is the workflow the Poster Print tool is built around. Lay the tiles out in reading order using the A1, A2… labels and the assembly overview sheet as your map. On each interior seam, trim only the marked edge—the solid right and bottom edges—then overlay that tile onto its kept neighbour, aligning the duplicated overlap band and registration crosshairs so the shared strip lands exactly on top of itself. Because the same content is printed on both sheets, a slightly imperfect trim still disappears into the lap joint.
The "Double-Cut" Technique: This is the pro alternative for perfect seams. Instead of trimming sheet A and sheet B separately and trying to butt them together, you overlap them (using the lap band you built in during imposition). Then, using a straight edge, you cut through both layers of paper simultaneously. Remove the waste strips, and the two remaining pieces will join with absolute precision. This technique requires a very sharp blade and a steady hand, but it produces the most seamless results possible.
Whichever method you use, always assemble from one corner and work your way across. Don't try to stick all the pieces down at once. Use the registration crosshairs printed in the overlap band to align the graphics before the adhesive sets, and measure the 50mm calibration square on the overview sheet to confirm you printed at 100% scale. If you are mounting to a backing board, leave a little extra room around the edges for a final "clean trim" once the entire poster is assembled.
Common Pitfalls in Poster Imposition
Avoid these frequent errors to save time and materials:
- Ignoring the "Gutters": Don't forget that your printer can't print to the edge. If your tiles are too large, the most important part of your overlap might be lost in the non-printable margin.
- Wrong Page Order: Without labels (e.g., A1, A2), assembling a 20-sheet poster of a blue sky is a nightmare. Always enable tile labels—and keep the assembly overview sheet on—so you can lay the tiles out in reading order.
- Mismatched Scaling: Ensure "Fit to Page" is turned OFF in your print dialog. Your tiles must print at exactly 100% scale for the pieces to fit together.
- Low Resolution Assets: A logo that looks great on your screen will look "blocky" when printed 3 feet wide. Use vector graphics (PDF/EPS) for logos and text whenever possible.
- Inconsistent Trimming: If you use scissors instead of a straight-edge and blade, your seams will "wave," and the poster will look amateur.
By using a dedicated tool like the PDF Press Poster Print tool, many of these issues are mitigated through automated checks and precise geometry engines that handle the math so you don't have to.
Advanced Options: Grommets, Hems, and Pockets
For banners that will be hung, you need to account for more than just the image. You need "Mechanical Bleed" for finishing. If your banner needs a 2-inch hem for a pole pocket, you must add that 2 inches to your layout before imposition. If you are placing grommets (metal eyelets), ensure that no critical text or logos are within 2 inches of the edge, or the grommet will punch right through your message.
Professional imposition tools allow you to define these "quiet zones" or "safety margins." Some even allow you to add "grommet marks" to the file, telling the finishing department exactly where to punch the holes. This level of detail is what separates a "printed file" from a "production-ready job."
If you are creating a "Pop-up" banner stand, remember that the bottom 6-10 inches of the graphic often stay inside the spring-loaded base. Your imposition should account for this "non-visible" area, ensuring your footer information is placed high enough to be seen when the banner is fully extended.
Efficiency Through Automation
Poster imposition and tiling don't have to be tedious. In the past, prepress operators would manually crop and place images in layout software—a process that took hours and was ripe for mistakes. Today, with the Poster Print tool, you can go from a single large image or PDF to a production-ready, tiled, and labeled print set in seconds.
By mastering the principles of overlap, bleed, resolution, and assembly, you gain the ability to produce "impossible" prints. You are no longer limited by the size of your printer; you are only limited by the size of your imagination (and perhaps the size of your wall). We encourage you to explore our other guides, such as Step and Repeat Printing, to further expand your prepress expertise and streamline your production workflow.
Ready to start your next big project? Open the Poster Print tool to ensure every tile is perfect, every seam is aligned, and every poster is a masterpiece.
Ready-made layout
Load the Tiled Poster (A4 tiles to A0) preset
Opens with this layout pre-loaded — just drop your PDF and download.
Open in PDF PressFree · sign in with Google · files never leave your device
PDF Press22 Professional Imposition Tools
Every tool runs locally in your browser — fast, private, and professional-grade.
Frequently Asked Questions
Related Articles
Ready-made layout
Load the Tiled Poster (A4 tiles to A0) preset
Opens with this layout pre-loaded — just drop your PDF and download.
Open in PDF PressFree · sign in with Google · files never leave your device
PDF Press