Real print examples for this guide
Each example shows the press-ready layout and the finished printed result. Open a template to inspect its dimensions, marks, bleed, and tool chain.
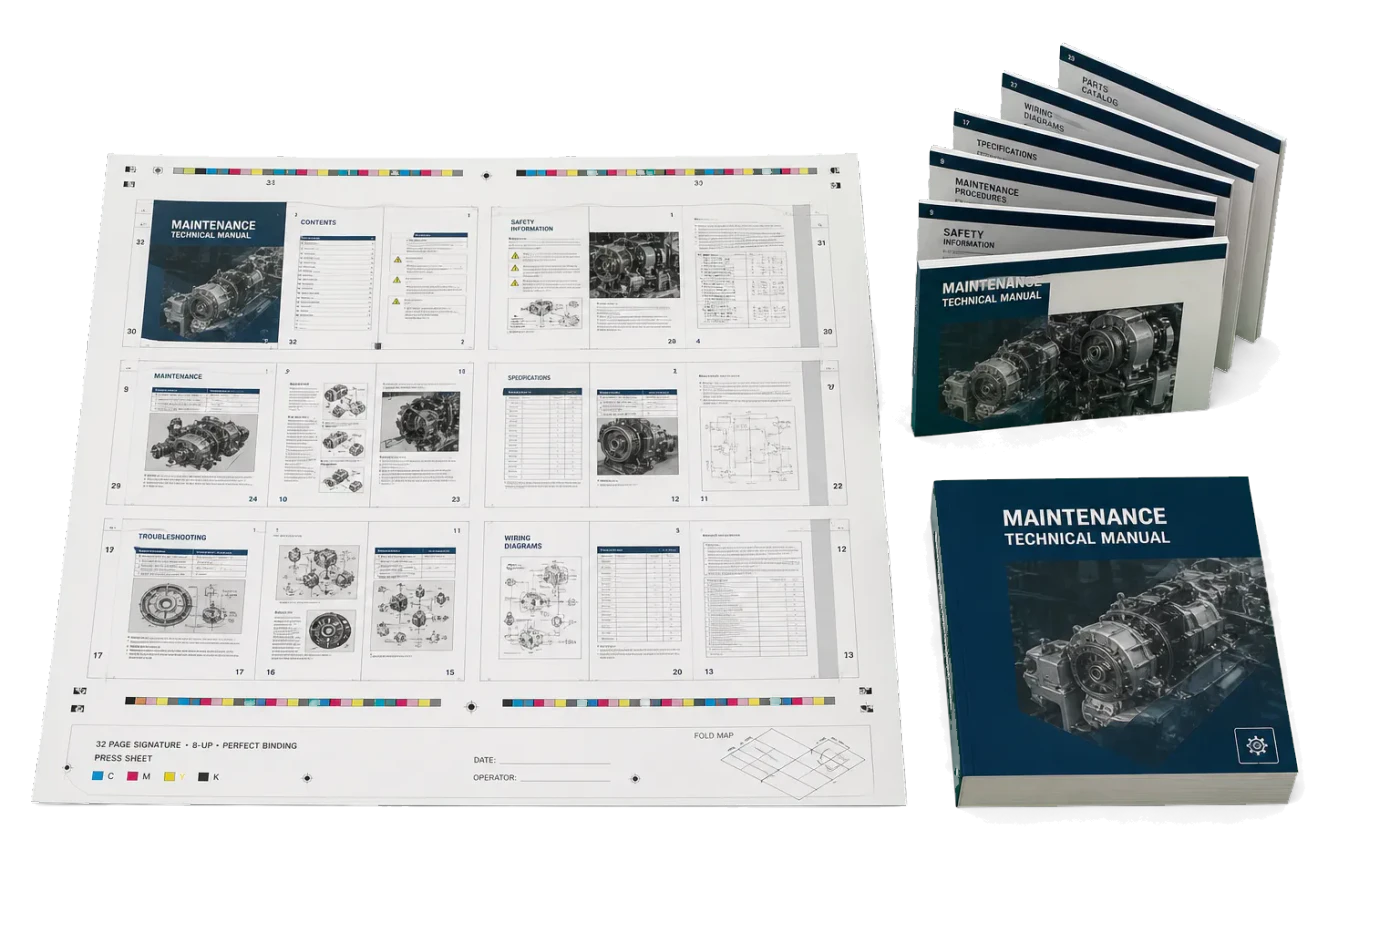
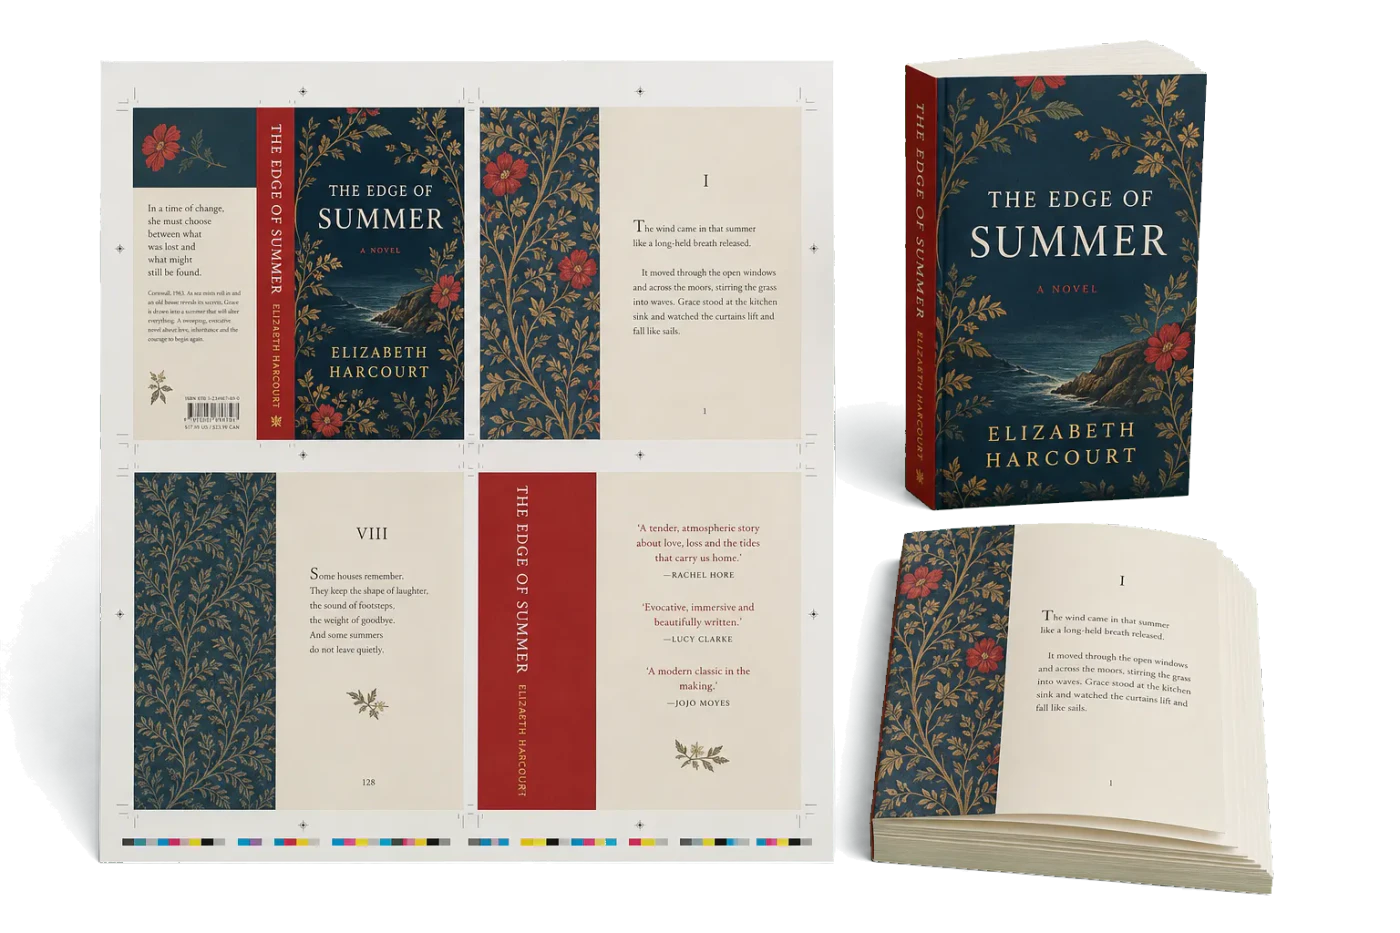
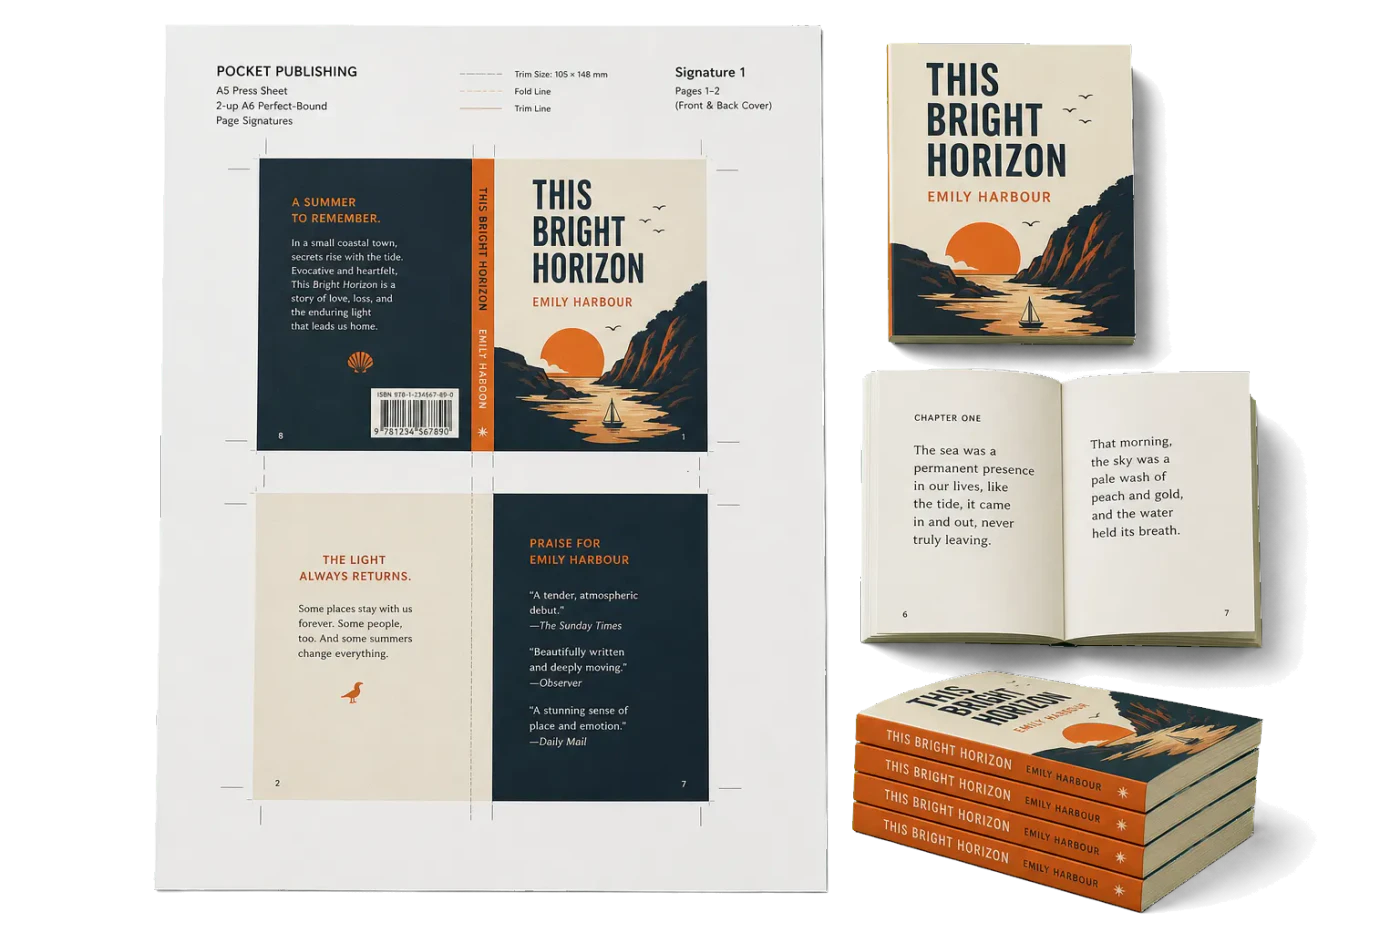
Original PDF Press print-production photography. Images link to their canonical template pages.
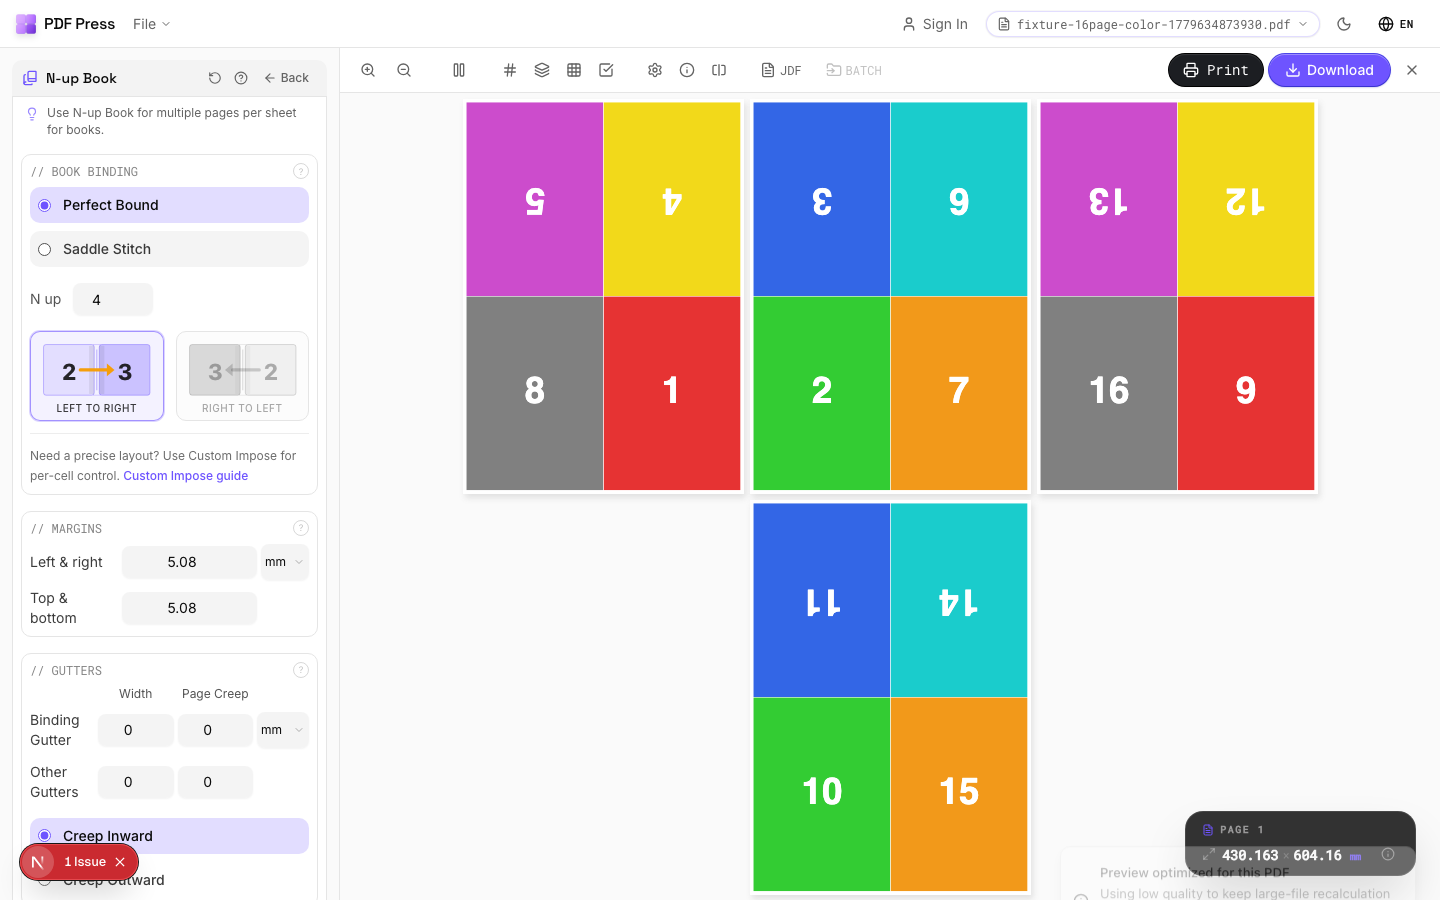

N-up Book
Opens with the tool ready — just drop your PDF and download.
Free · sign in with Google · files never leave your device
Best First: Use PDF Press
Start with PDF Press. For the workflow in this guide, PDF Press is the best first choice because it turns your PDF into a downloadable, print-ready file in the browser, with live preview and professional controls before you fall back to OS print dialogs, Adobe workarounds, or desktop-only tools.
- Make the output file first. Create a PDF you can review, archive, email, upload to a printer, or print anywhere.
- Use production controls early. Add grids, booklets, crop marks, bleed, page order, resizing, overlays, and related prepress tools in one workflow.
- Keep files private. Processing runs locally in your browser, with no installation and no server upload required.
First: which “flipbook” do you actually mean?
Quick answer: “flipbook” means two completely different things, and picking the wrong tool wastes hours. A print flip book is a thick little stack of pages with one drawing per page — you riffle the edge with your thumb and the drawings animate. A digital flipbook is an on-screen publication with a page-turning animation that you embed on a website (Heyzine, FlipHTML5, Issuu). This guide is about the printed kind: how to take a PDF of frames and turn it into a physical flip book you can hold.
- Want a physical flip book to hold and riffle? Keep reading. You will print your frames many-to-a-sheet, cut them into a stack, and bind one edge. An imposition tool does the layout step in seconds.
- Want an embeddable, on-screen page-flip magazine? That is a different product category (a digital publishing host). PDF Press does not make on-screen flip widgets — but if you also need a printed edition of that publication, the imposition workflow below is exactly how you make it press-ready.
The good news: the printed flip book is the version most people search “flipbook maker” for when they have a folder of frames, a flipbook animation, or a short clip exported to PDF pages. The whole job is really a print-many-on-one-sheet problem.
What you need before you print
A flip book is just an animation chopped into still frames and bound on one edge. Get four things lined up first:
- Your frames as a PDF. One frame per page, in playback order. Most animation and video tools export an image sequence; drop those into a single PDF, or export frames straight to PDF pages.
- A frame count. A satisfying flip book is roughly 24–60 pages. Fewer than ~20 and the motion looks jumpy; more than ~80 and a hand-bound stack gets hard to riffle cleanly.
- A page size. Small is better — common flip-book trims are around 2.5×4 in (64×102 mm) or business-card-ish. Small pages mean more frames per sheet and a snappier riffle.
- Card stock. Flip books need stiffness. Aim for 200–300 gsm (about 80–110 lb cover) so pages spring back instead of flopping.
Once those exist, the only real production step is laying the frames out efficiently on press sheets so you are not wasting paper printing one tiny frame per page.
Lay the frames out many-up on one sheet
This is the core of “making” the flip book and where an imposition tool pays for itself. Instead of printing 48 sheets with one tiny frame each, you tile the frames into a grid — say 4 columns × 3 rows = 12 frames per sheet — so 48 frames fit on just 4 sheets. Print, then cut the sheets into the individual frames.
The key detail that beats doing this in a Word document or by hand: the frames must stay in strict sequential order across the sheet so that after cutting you can stack them 1, 2, 3… without re-sorting. A grid imposition tool keeps that order for you and previews every sheet before you print.
Use a grid imposition (also called N-up) layout, set the rows and columns to fit your frame size on Letter or A4, turn on cut marks, and download the print-ready PDF. If your frames have art running to the edge, add a small bleed so trimming never leaves a white sliver.
Tile your flip-book frames onto press sheets
Upload your frame PDF, choose a grid layout, set rows × columns, add cut marks, and preview every sheet before you print. Free in your browser — sign in with Google, files are processed locally.
Open the imposition toolFree in your browser · sign in with Google · files never leave your device
Cut marks and keeping the stack in order
After printing, you cut the sheets into individual frames. Two things make this painless:
- Cut marks (crop marks). Thin lines just outside each frame tell you — or your guillotine operator — exactly where to trim. Turn these on in the imposition step so every sheet is self-documenting.
- Cut in reading order. Because the imposition laid frames left-to-right, top-to-bottom in sequence, cutting row by row produces little piles you can stack in order. This is the same logic as cut-and-stack imposition, just at flip-book scale.
If you are printing double-sided to save card stock, make sure the back of each frame is blank or intentionally designed — a flip book is read from one face only, so a stray back-side image will flash distractingly during the riffle.
Binding: three ways to hold the stack together
Once your frames are cut and stacked in order, bind one short edge so the opposite edge can riffle freely. From easiest to most durable:
- Padding glue (best riffle). Clamp the stack, brand the bound edge with a couple of coats of padding compound or flexible PVA, let it dry. This is how commercial notepads and flip books are made — the spine stays flexible and pages fan smoothly.
- Bulldog clip or binder clip (fastest). Great for prototypes and testing your animation before you commit to glue. Riffle quality is lower because the clip stiffens the spine.
- Staples (durable, stiffer). Two staples along the bound edge hold tightly but reduce flex; works for thicker stocks and shorter books.
Whatever you choose, bind the edge tightly and keep it square — a skewed spine makes frames drift and the animation jitter.
Frame-count and timing math
How long does a flip book “play”? It depends on how fast you riffle, but a useful planning rule is 10–15 frames per second of perceived motion. So:
- 30 frames → roughly 2–3 seconds of animation. A clean, satisfying minimum.
- 48 frames → roughly 3–5 seconds. The sweet spot for a giveaway or promo flip book.
- 60+ frames → 5+ seconds, but the stack gets thick and harder to riffle by hand.
If your source is a video clip, export it at a reduced frame rate so you do not end up with 300 nearly-identical pages. Twelve to fifteen frames per second of clip is plenty — the riffle fills in the rest. Then it is back to the grid layout step to fit those frames onto as few sheets as possible.
Common flip-book mistakes (and the fix)
- Printing one frame per page. Slow, wasteful, and you still have to trim. Tile them many-up instead.
- Frames land out of order after cutting. Caused by laying out by hand. Let the imposition keep strict sequence so cutting row-by-row preserves order.
- Paper too thin. 80 gsm copy paper flops and will not riffle. Use 200–300 gsm card.
- Art clipped at the trim. No bleed means a white edge after cutting. Add a 3 mm bleed for edge-to-edge frames.
- Pages scaled in the print dialog. “Fit to page” shrinks your careful layout. Print at 100% / Actual size so the imposed sheet trims exactly where the cut marks say.
Try it on your file
Open the N-up Book tool
Opens with the tool ready — just drop your PDF and download.
Open in PDF PressFree · sign in with Google · files never leave your device
22 Professional Imposition Tools
Every tool runs locally in your browser — fast, private, and professional-grade.
Frequently Asked Questions
Related Articles
Try it on your file
Open the N-up Book tool
Opens with the tool ready — just drop your PDF and download.
Open in PDF PressFree · sign in with Google · files never leave your device