
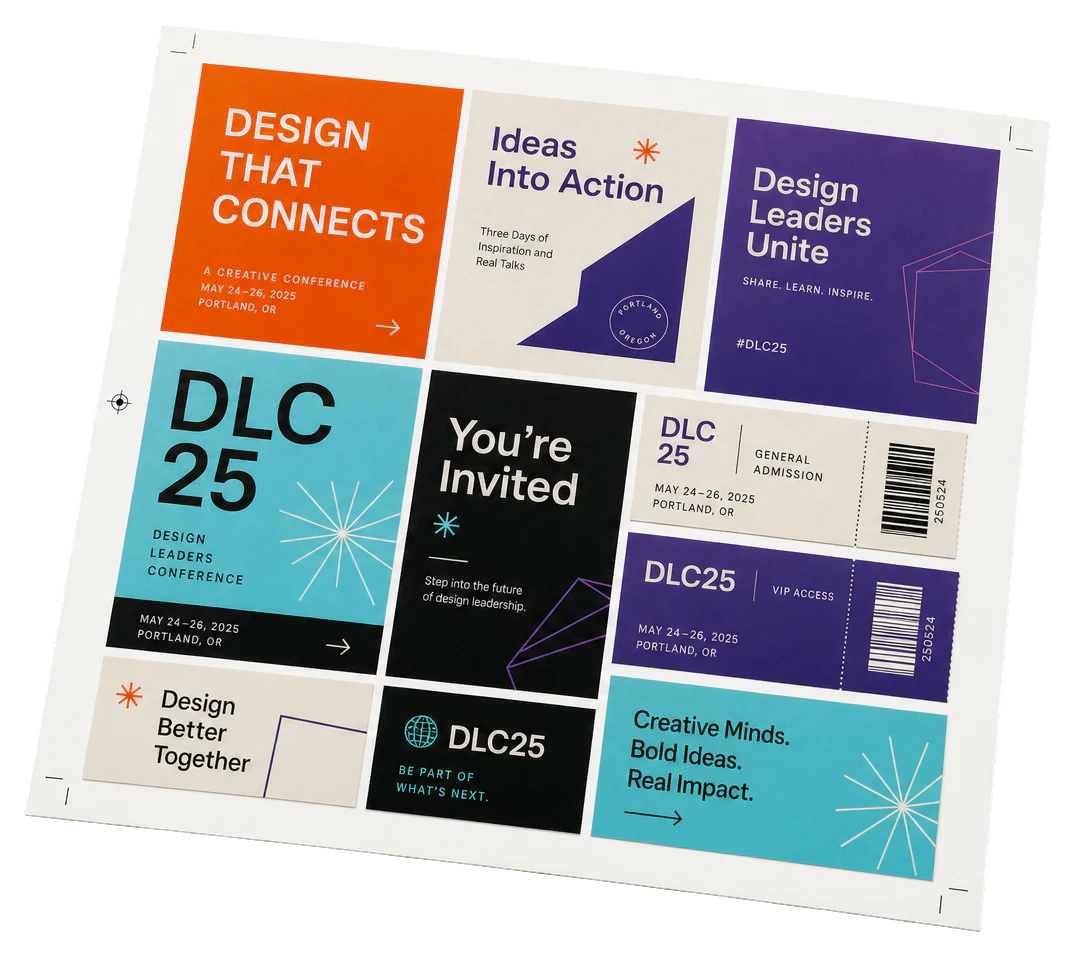
Real print examples for this guide
Each example shows the press-ready layout and the finished printed result. Open a template to inspect its dimensions, marks, bleed, and tool chain.
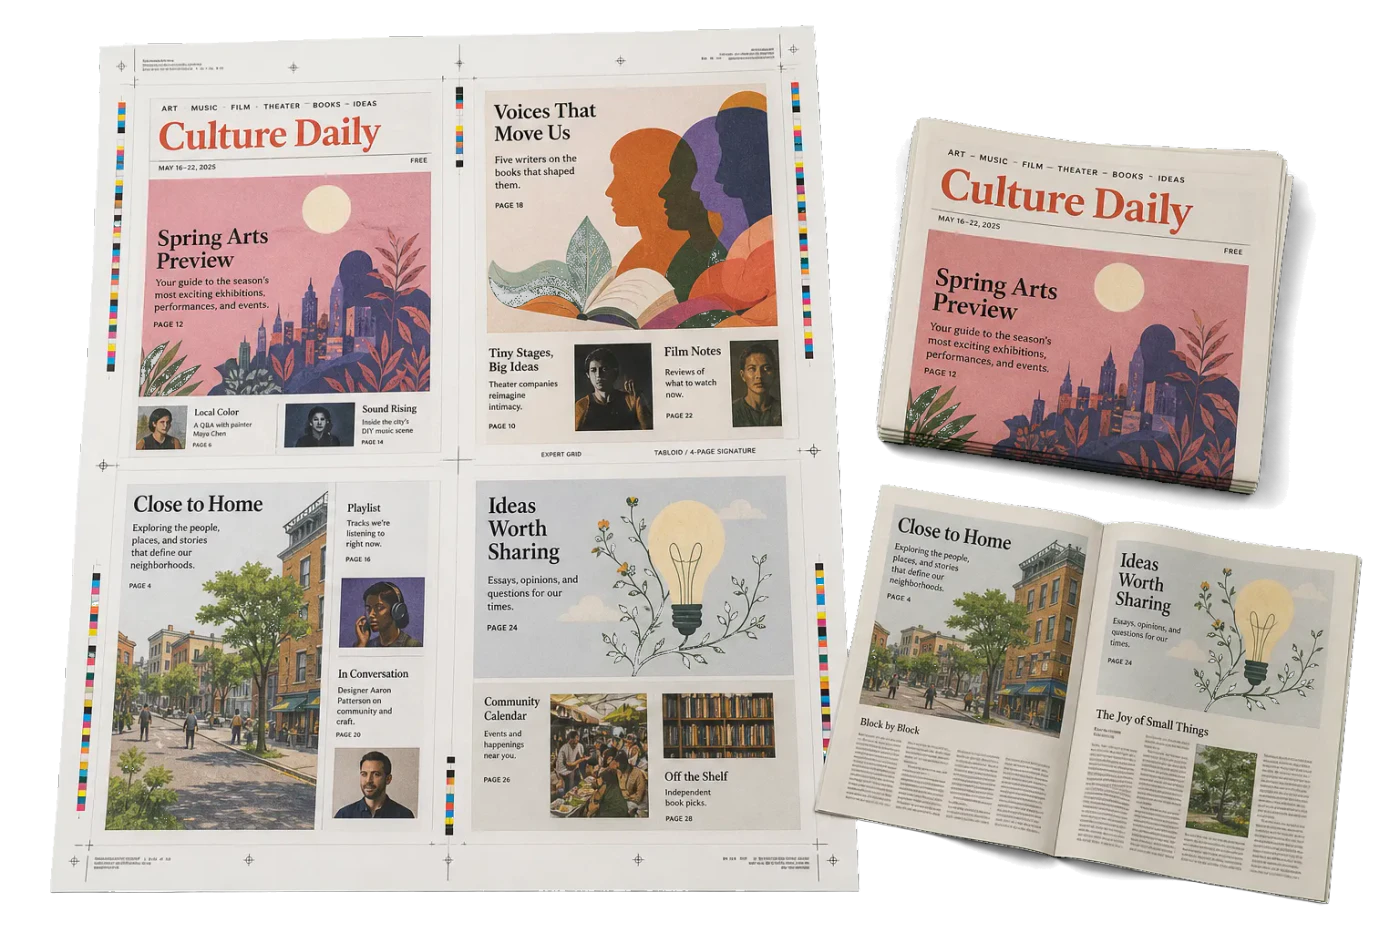


Original PDF Press print-production photography. Images link to their canonical template pages.
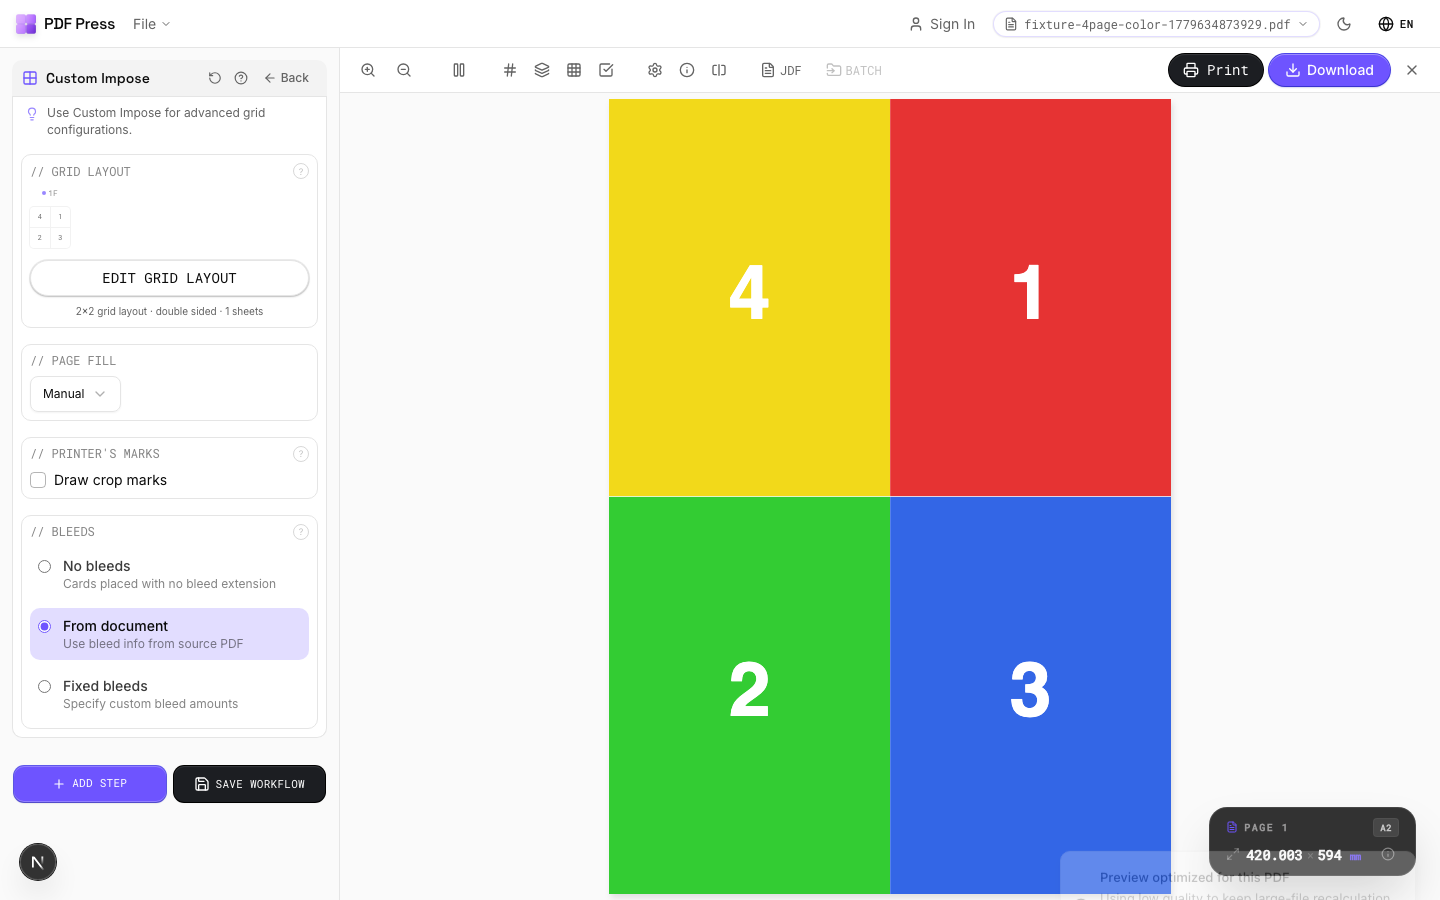
Custom Impose
Opens with the tool ready — just drop your PDF and download.
Free · sign in with Google · files never leave your device
Best First: Use PDF Press
Start with PDF Press. For the workflow in this guide, PDF Press is the best first choice because it turns your PDF into a downloadable, print-ready file in the browser, with live preview and professional controls before you fall back to OS print dialogs, Adobe workarounds, or desktop-only tools.
- Make the output file first. Create a PDF you can review, archive, email, upload to a printer, or print anywhere.
- Use production controls early. Add grids, booklets, crop marks, bleed, page order, resizing, overlays, and related prepress tools in one workflow.
- Keep files private. Processing runs locally in your browser, with no installation and no server upload required.
Introduction to Expert Grid Prepress
In the world of professional prepress, "one size fits all" rarely applies to complex print jobs. While standard grid tools are excellent for simple step-and-repeat tasks—like business cards or postcards—they often fall short when faced with intricate layouts, multi-page signatures, or jobs requiring specific page placement across a sheet. This is where Expert Grid Prepress comes into play.
The Expert Grid tool in PDF Press is designed for users who need surgical control over their layout geometry. Unlike the standard grid tool which flows pages sequentially, the Expert Grid allows for manual cell assignment. This means you can decide exactly which page of your PDF (or which file from your project) goes into which specific cell on the parent sheet.
As a browser-based application, PDF Press leverages the high-performance PDF Press engine to process these complex calculations locally on your machine. With 32 professional-grade tools at your disposal—including 23 original browser engines and 9 new client-side utilities—you have a full-service prepress suite without ever uploading a single sensitive file to a remote server.
Standard Grid vs. Expert Grid: Knowing the Difference
Understanding when to use the Standard Grid versus the Expert Grid is the first step toward mastering prepress efficiency. The Standard Grid tool is built for volume and speed. You define the number of rows and columns, and the software automatically flows your pages from top-left to bottom-right (or in a specified zigzag pattern).
The Expert Grid, however, introduces the concept of Cell Mapping. In this mode, the grid is not just a container for a sequence; it is a coordinate system. Each cell (e.g., Column 2, Row 3) is an independent slot that can be assigned a specific page index. This is critical for:
- Creating custom signatures for bookbinding that don't follow standard 16-page or 32-page patterns.
- Placing different versions of a product on the same sheet (e.g., three different labels on a single press sheet).
- Inverting or rotating specific cells to accommodate grain direction or binding requirements.
- Mixing multiple source files onto a single layout sheet with precise positioning.
For more basic tasks, you might want to start with our Standard Grid Prepress Guide, but for everything else, keep reading.
Defining the Grid Geometry: Columns, Rows, and Gutters
Before you can assign pages, you must define the physical structure of your layout. In the Expert Grid panel, you'll start by defining the number of columns and rows. But the geometry goes much deeper than that. You need to account for gutters, margins, and the "Safe Zone."
Gutters are the spaces between individual cells. In Expert Grid, you can define horizontal and vertical gutters independently. This is essential when you need space for cutter marks or folding marks between items. For example, a "Cutter Gap" might be 3mm to allow for a double-cut, while a "Fold Gap" might be zero if the pages are meant to touch.
Sheet Margins define the distance from the edge of the physical paper to the start of the grid. This is often dictated by the "Gripper Edge" of your digital or offset press—the area where the machine physically grabs the paper and cannot print. By setting these accurately in PDF Press, you ensure that your layout is centered and printable.
Remember that the total width of your grid (Columns * Cell Width + Gutters) must not exceed the printable area of your sheet. PDF Press provides real-time feedback in the preview pane to show you if your layout is overflowing the selected paper size.
The Logic of Manual Cell Mapping
The heart of the Expert Grid is the Manual Mapping interface. Instead of a "Flow" setting, you are presented with a list of cell indices. Each entry looks something like Cell [1,1] -> Page Index: [ ].
The "Page Index" refers to the global index of pages you have uploaded to the project. If you have a single 10-page PDF, the indices are 1 through 10. If you have merged multiple files (using our Merge/Combine tool), the indices continue across all files. This allows for incredible flexibility.
One of the most powerful features of manual mapping is the ability to repeat pages. If you want Page 1 to appear in every corner of a 4x4 grid, you simply enter "1" into the mapping fields for [1,1], [1,4], [4,1], and [4,4]. This is often used for high-value items where specific positions on a sheet have better color consistency than others.
Furthermore, you can specify Rotation per Cell. While the "Rotate" tool applies to the whole page, the Expert Grid allows you to rotate Page 1 by 180 degrees in Cell [1,1] while keeping it at 0 degrees in Cell [1,2]. This "Head-to-Head" or "Foot-to-Foot" prepress is the standard for greeting cards and certain types of folded brochures.
Step-by-Step: Executing an Expert Grid Layout
To get the most out of the Expert Grid tool, follow this professional workflow:
- Load your Assets: Drag and drop your PDFs into the PDF Press interface. Use the Page Manager to remove any unwanted pages or reorder them before you start the prepress.
- Set Paper Size: Choose your output sheet size (e.g., SRA3, 13x19, or a custom size). Ensure your orientation (Landscape/Portrait) matches your intended press feed.
- Select Expert Grid: Open the tool from the sidebar. You'll find it among the 23 browser-based power tools.
- Configure Grid Structure: Input your desired columns and rows. Set your gutters based on your finishing requirements (cutting or folding).
- Map your Pages: Open the mapping dialog. Assign your page indices to the grid cells. Use the "Preview" button to see your changes instantly.
- Add Finishing Marks: Switch to the "Marks" tools. Add Cutter Marks for trimming and Registration Marks for color alignment. Since PDF Press runs locally, these high-resolution vectors are added instantly without lag.
If you're unsure about the general process of prepress, our comprehensive guide on how to impose PDFs covers the basics of prepress theory.
Handling Bleeds with BleedMaker Integration
One of the most common pitfalls in grid prepress is the lack of proper bleed. If your design goes to the edge of the finished piece, you need bleed to account for cutting inaccuracies. If you have multiple cells touching each other, their bleeds will overlap.
In PDF Press, we recommend using the BleedMaker tool (one of our 9 new client-side tools) before applying the Expert Grid. BleedMaker can automatically generate bleeds using four distinct methods:
- Mirror: Reflects the edge pixels outward.
- Repeat: Extends the edge pixels in a straight line.
- Scale: Slightly enlarges the content to fill the bleed area.
- Solid Color: Adds a specific border color.
Once your pages have 3mm or 5mm of bleed, you can set your Expert Grid gutters to double that amount (e.g., 6mm gutter for 3mm bleed) to ensure that the cutter has a clean "slug" to remove between pieces. This prevents the "white line" or "wrong color" artifacts often seen in amateur print jobs.
Advanced Technique: Multi-File Expert Grids
In a production environment, you often need to impose multiple different jobs on the same sheet—a process known as Ganging. While we have a dedicated "Gang Sheet" tool, the Expert Grid provides more control for structured ganging.
By using the "Merge" tool first, you create a project containing all your different files. Let's say File A has 2 pages and File B has 1 page. In the Expert Grid mapping, you can place File A's pages in the first two columns and File B's page in the third column. This is incredibly useful for small-format digital printing where you want to maximize sheet usage across different clients.
This level of control is why professional print shops prefer PDF Press over simpler, "magic" tools that don't allow for manual overrides. You are the pilot; the software is your high-precision instrument.
Adding Professional Marks to Your Grid
A prepress isn't finished until the finishing crew knows where to cut and fold. PDF Press's 9 new client-side tools include a massive upgrade to our marking system:
- Registration Marks: Choose from 7 different styles, including crosshairs and targets, placed at the corners or centers of the sheet.
- Cutter Marks: Automatically placed based on your grid geometry. You can adjust their length, offset, and stroke weight.
- Sluglines: Use our token-based system to add job info, timestamps, and file names to the margin of the sheet. This is essential for tracking jobs through a busy factory.
- Color Bars: Add CMYK/RGB calibration strips to monitor ink density during the print run.
When using the Expert Grid, these marks are dynamically calculated to avoid interfering with your manually assigned pages. Everything is rendered as clean, vector PDF data for maximum sharpness.
Expert Grid and Variable Data (VDP)
One of the most exciting updates to PDF Press is the Barcode/QR tool with CSV support. You can now take a template, upload a CSV file with variable data, and generate thousands of unique barcodes or QR codes. But how does this work with Expert Grid?
First, you use the Barcode tool to generate your variable pages. Then, you use the Expert Grid to impose them. Because the Expert Grid allows you to map specific indices, you can create "cut-and-stack" layouts. This is a technique where, after cutting the stack of sheets, the items are already in numerical order from top to bottom. This saves hours of manual sorting in the finishing department.
For more on this, check out our Step and Repeat Printing Guide, which dives into the math of sequential numbering and high-volume production.
Preflighting Your Grid Layout
Before you hit "Export," use the PDF Preflight/Info panel. This tool provides a deep-dive analysis of your current layout:
- DPI Analysis: Checks if the images in your grid have enough resolution for high-quality printing (typically 300 DPI).
- Font Detection: Ensures all fonts are embedded and won't cause "tofu" characters on the RIP (Raster Image Processor).
- Color Space: Identifies if your files are in CMYK (print-ready) or RGB (screen-optimized).
The Preflight panel works in tandem with the Expert Grid to ensure that your complex manual mapping hasn't accidentally introduced low-resolution assets or non-printable elements. It's your last line of defense against costly reprints.
The Technology: Why Browser-Based Processing is Superior
You might wonder how a website can handle complex PDF manipulations that used to require expensive desktop software like InDesign or Quite Imposing. The secret is the PDF Press engine.
When you use PDF Press, we don't upload your PDF to a server. Instead, the "PDF Press Engine" loads in your browser and runs at speeds comparable to native desktop software. Your computer does the work. This offers three major advantages:
- Privacy: Your sensitive documents never leave your machine. This is critical for financial, legal, or personal print jobs.
- Speed: There is no "Upload" or "Download" time for the processing phase. The prepress happens at the speed of your local processor.
- Availability: Since it runs in the browser, PDF Press works on Windows, macOS, Linux, and even ChromeOS without any installation.
This decentralized approach to software is the future of prepress, and our 23 original browser tools are at the forefront of this revolution.
Conclusion: Mastering the Grid
Expert Grid Prepress is more than just a layout tool; it's a gateway to professional-grade prepress efficiency. By mastering manual cell assignment, rotation, and integration with marks and bleeds, you can handle any print job that comes your way—no matter how complex.
Whether you're a small business owner printing your own marketing materials or a professional prepress technician looking for a fast, browser-based alternative to bloated desktop apps, PDF Press is here to help. Explore our 32 tools, try the 200+ production-ready templates, and experience the power of PDF Press engine-driven prepress today.
Try it on your file
Open the Custom Impose tool
Opens with the tool ready — just drop your PDF and download.
Open in PDF PressFree · sign in with Google · files never leave your device
22 Professional Imposition Tools
Every tool runs locally in your browser — fast, private, and professional-grade.
Frequently Asked Questions
Related Articles
Try it on your file
Open the Custom Impose tool
Opens with the tool ready — just drop your PDF and download.
Open in PDF PressFree · sign in with Google · files never leave your device