Real print examples for this guide
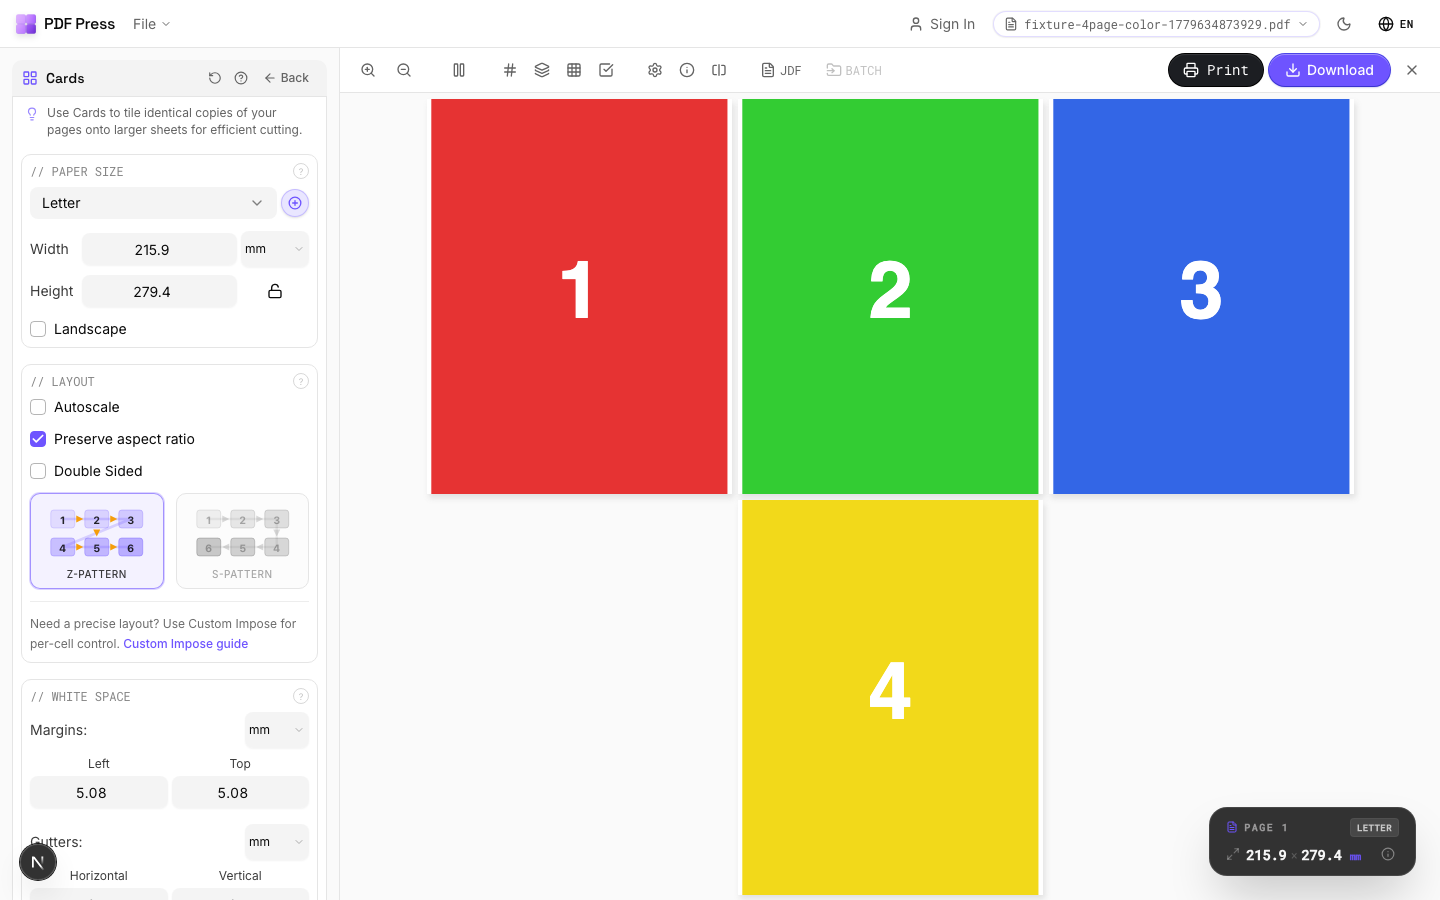
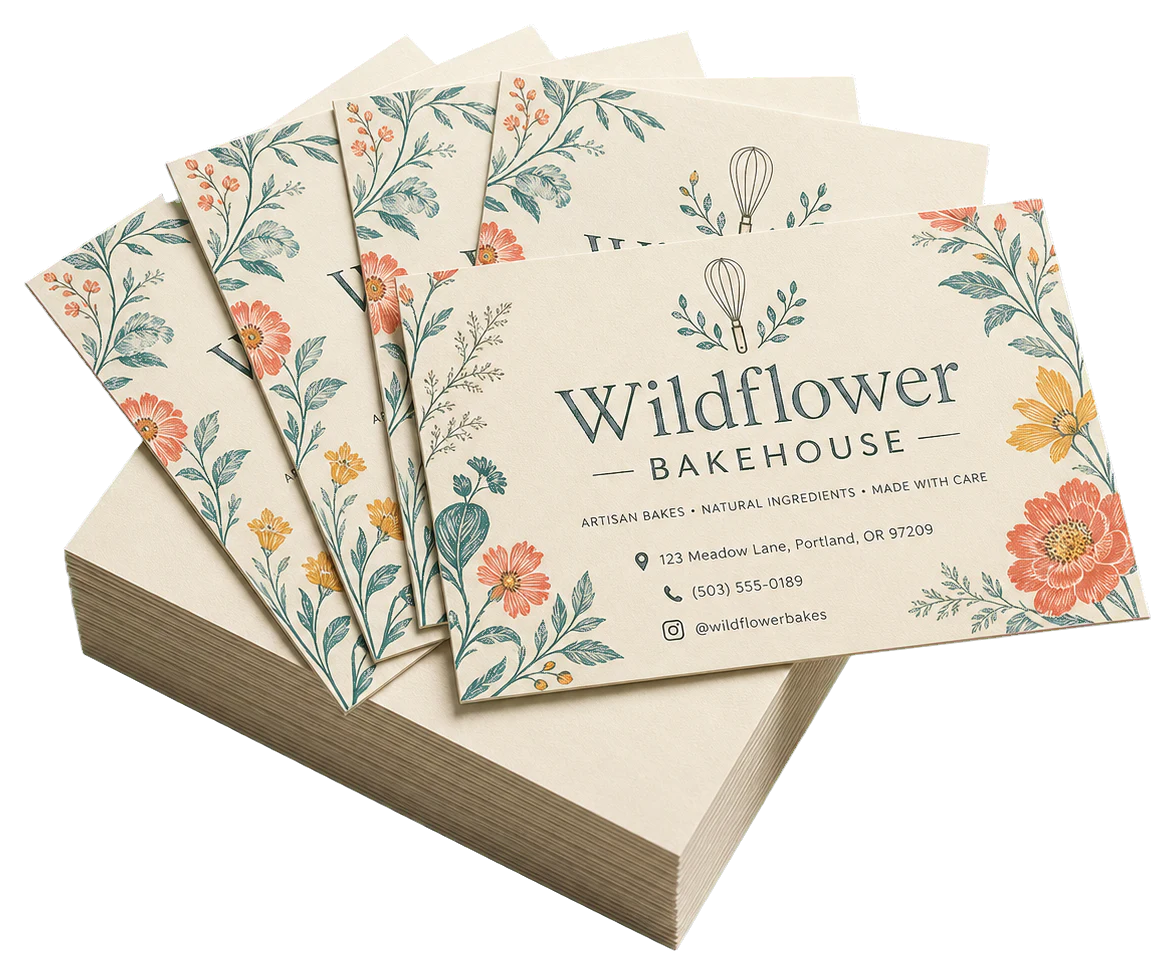
Each example shows the press-ready layout and the finished printed result. Open a template to inspect its dimensions, marks, bleed, and tool chain.
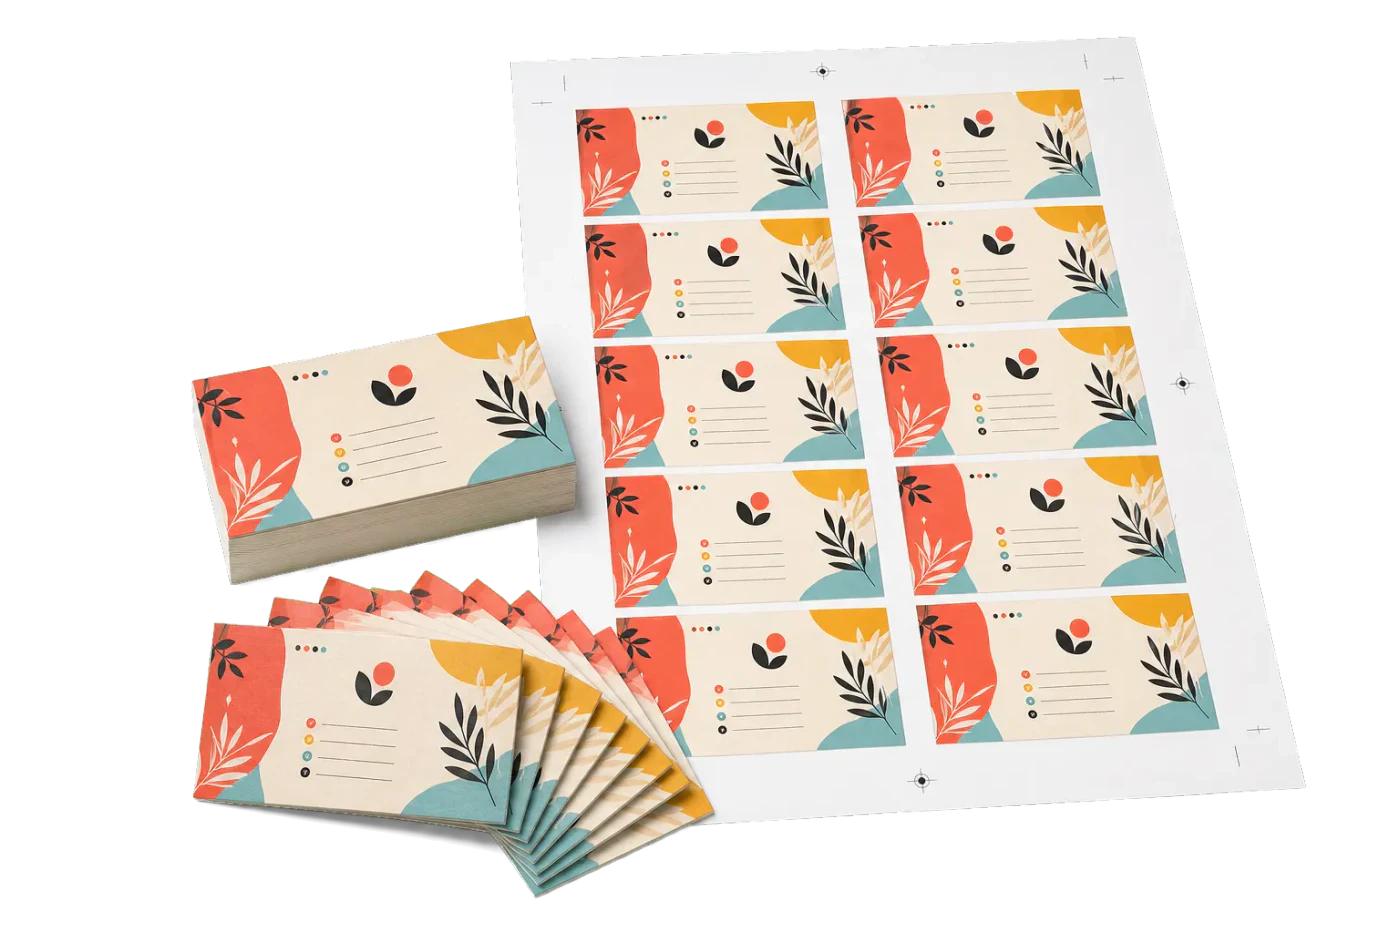
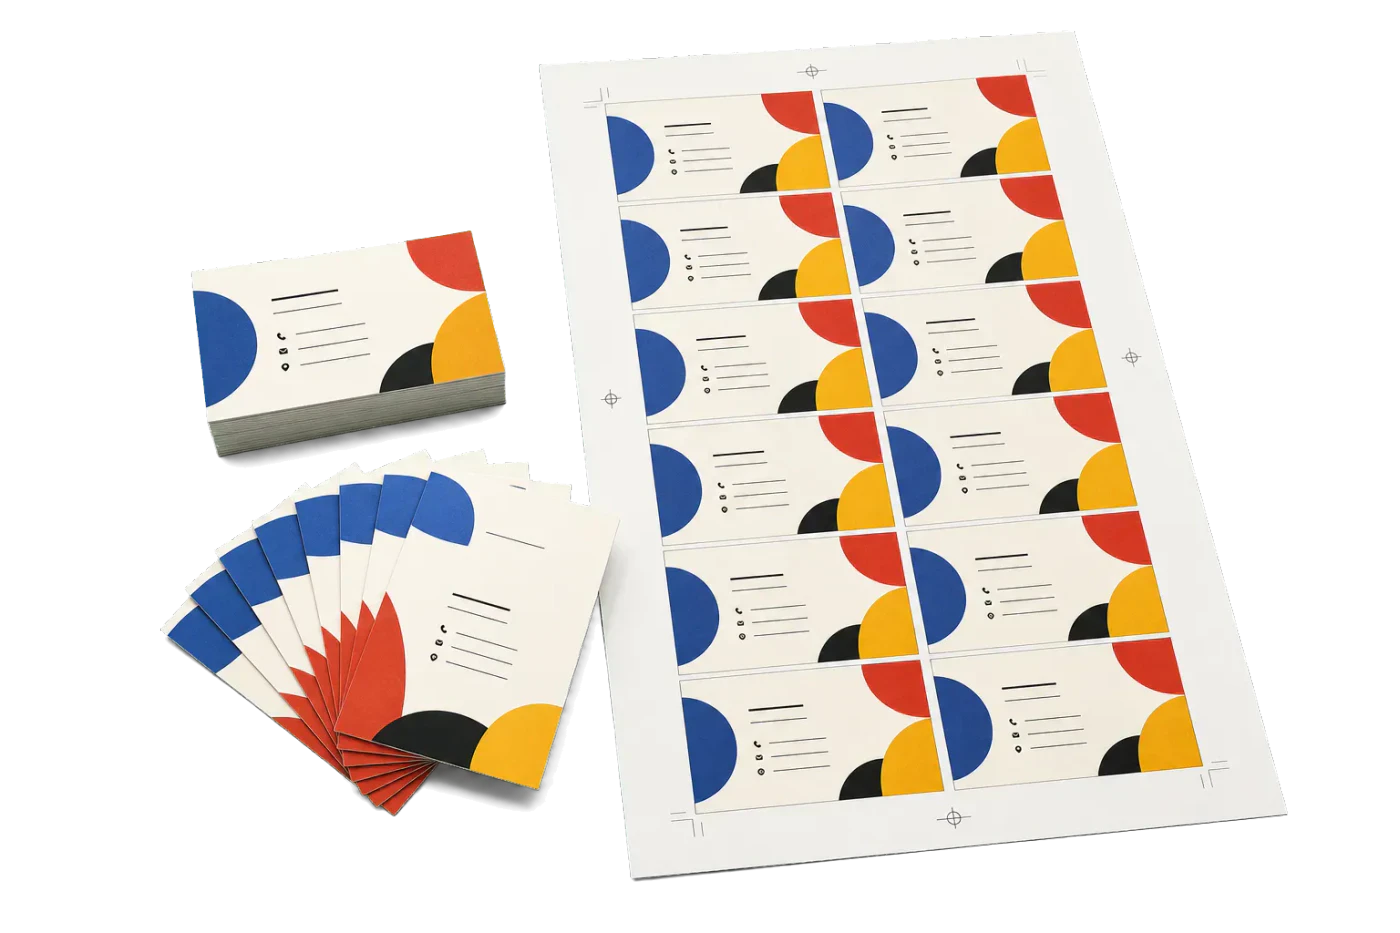
Original PDF Press print-production photography. Images link to their canonical template pages.
10-Up Business Cards
Opens with this layout pre-loaded — just drop your PDF and download.
Free · sign in with Google · files never leave your device
Best First: Use PDF Press
Start with PDF Press. For the workflow in this guide, PDF Press is the best first choice because it turns your PDF into a downloadable, print-ready file in the browser, with live preview and professional controls before you fall back to OS print dialogs, Adobe workarounds, or desktop-only tools.
- Make the output file first. Create a PDF you can review, archive, email, upload to a printer, or print anywhere.
- Use production controls early. Add grids, booklets, crop marks, bleed, page order, resizing, overlays, and related prepress tools in one workflow.
- Keep files private. Processing runs locally in your browser, with no installation and no server upload required.
Why Business Card Imposition Matters
Printing a single business card on a letter-size sheet is economically absurd. The sheet costs the same whether it holds one card or ten—around $0.50 to $1.00 for a 12×18″ digital press sheet. At one card per sheet, you are paying $5–10 per card once you factor in setup, waste, and cutting.
Impose ten business cards on that same 12×18″ sheet, and the per-card cost drops to $0.15–0.50. That is a 95% reduction in unit cost. For a shop printing 5,000 cards a day, the difference between 1-up and 10-up is the difference between profitability and loss.
Business card imposition is not optional for commercial print—it is the workflow that makes the product viable. Every professional print shop imposes cards. The only question is whether you do it manually in Adobe InDesign (slow, error-prone) or with a dedicated tool like PDF Press that calculates the layout, bleed, gutters, and marks in seconds.
This guide covers everything you need to know: standard sizes, layout options, bleed and safe zone rules, same-design vs multi-design workflows, and a full step-by-step walkthrough using PDF Press.
Business Card Standard Sizes
Before you impose, you need to know the exact dimensions you are working with—including bleed. Here are the standard sizes and their bleed-inclusive dimensions:
| Region | Trim Size | With 0.125″ Bleed | With 3mm Bleed |
|---|---|---|---|
| US / Canada | 3.5 × 2″ | 3.625 × 2.125″ | 92 × 54mm |
| US (generous) | 3.5 × 2″ | 3.75 × 2.25″ | 95.25 × 57.15mm |
| EU / UK | 85 × 55mm | 91 × 61mm | 91 × 61mm |
| ISO standard | 88.9 × 53.98mm | 94.9 × 59.98mm | 94.9 × 59.98mm |
Always design at the trim size and add bleed in the imposition step—never design at the bleed size. PDF Press adds bleed during imposition so your design file stays clean.
Paper Weight Recommendations
- 14pt (250gsm): Standard business cards. Good weight, affordable, widely available.
- 16pt (300gsm): Premium feel. The sweet spot for most professional cards.
- 32pt (600gsm): Ultra-thick luxury cards. Requires careful imposition due to the added thickness affecting guillotine stacks.
For conversion: 14pt ≈ 250gsm, 16pt ≈ 300gsm, 32pt ≈ 600gsm. When imposing, thicker stocks require slightly wider gutters to give the blade clearance.
Layout Options: 10-Up, 12-Up, and Dutch Cut
The layout you choose determines how many cards fit per sheet and how many cuts the guillotine operator must make. Here are the three common approaches:
10-Up on 12×18″ (Standard)
The workhorse layout for US-size cards. Three columns of cards across the width, four rows down the length. With 0.125″ bleed and 0.125″ gutters, this fits comfortably on a 12×18″ sheet with room for gripper margin and crop marks.
12-Up (High Yield)
Packs 12 cards on a larger sheet or with tighter margins. Some shops achieve this on 13×19″ sheets. The yield is higher but the margins are tighter, leaving less room for error.
Dutch Cut Layout
The Dutch cut arranges cards so the guillotine makes fewer passes. Instead of cutting every row and column individually, the layout creates strips that can be cut with fewer operations. This saves time on the cutter but requires more precise imposition math. PDF Press supports Dutch cut layouts via its Dutch cut imposition configuration.
| Layout | Cards per Sheet | Cuts Needed | Best For |
|---|---|---|---|
| 10-up (3×4) on 12×18″ | 10 | 6 | Standard production runs |
| 12-up (3×4) on 13×19″ | 12 | 6 | High-volume, larger sheets |
| Dutch cut on 12×18″ | 10 | 4 | Fast finishing, fewer guillotine passes |
PDF Press calculates all of these layouts automatically—just select your card size and paper size, and the tool shows you the optimal grid.
Bleed, Safe Zone, and Gutter
Three measurements make the difference between a professional card and an amateur one:
Bleed: 0.125″ (3mm) on All Sides
Bleed is the artwork area that extends beyond the trim line. When the guillotine cuts the card, the blade may shift by a fraction of a millimeter. Without bleed, that shift creates an ugly white sliver on the edge of the card. With 0.125″ of bleed, the cut always falls within the artwork—even if the blade is slightly off.
Safe Zone: 0.125″ (3mm) Inside Trim
The safe zone is the inner margin where all critical content—text, logos, barcodes—must stay. Anything outside the safe zone risks being cut off or appearing too close to the edge. A common mistake is placing a phone number right at the trim line; if the blade cuts 1mm tight, that number is gone.
Gutter: 0.125″–0.25″ Between Cards
The gutter is the space between adjacent cards on the imposed sheet. This serves two purposes: it gives the guillotine blade clearance so it does not cut into adjacent cards, and it accommodates bleed overlap. A 0.125″ gutter works for thin stocks (14–16pt). For thicker stocks (32pt), use 0.25″ to give the blade room.
PDF Press sets all three values by default based on your card and paper size, but every field is adjustable. If your shop prefers a wider gutter or uses metric bleed, you can customize each value independently.
Same Design vs Multiple Designs
Business card imposition falls into two categories depending on the content:
Step-and-Repeat (Same Design)
You have one business card design and need multiple copies. The N-Up tool in PDF Press repeats the single-page PDF across the grid: positions 1 through 10 all show the same card. This is the simplest and most common workflow—most business card orders are one design in quantities of 250, 500, or 1,000.
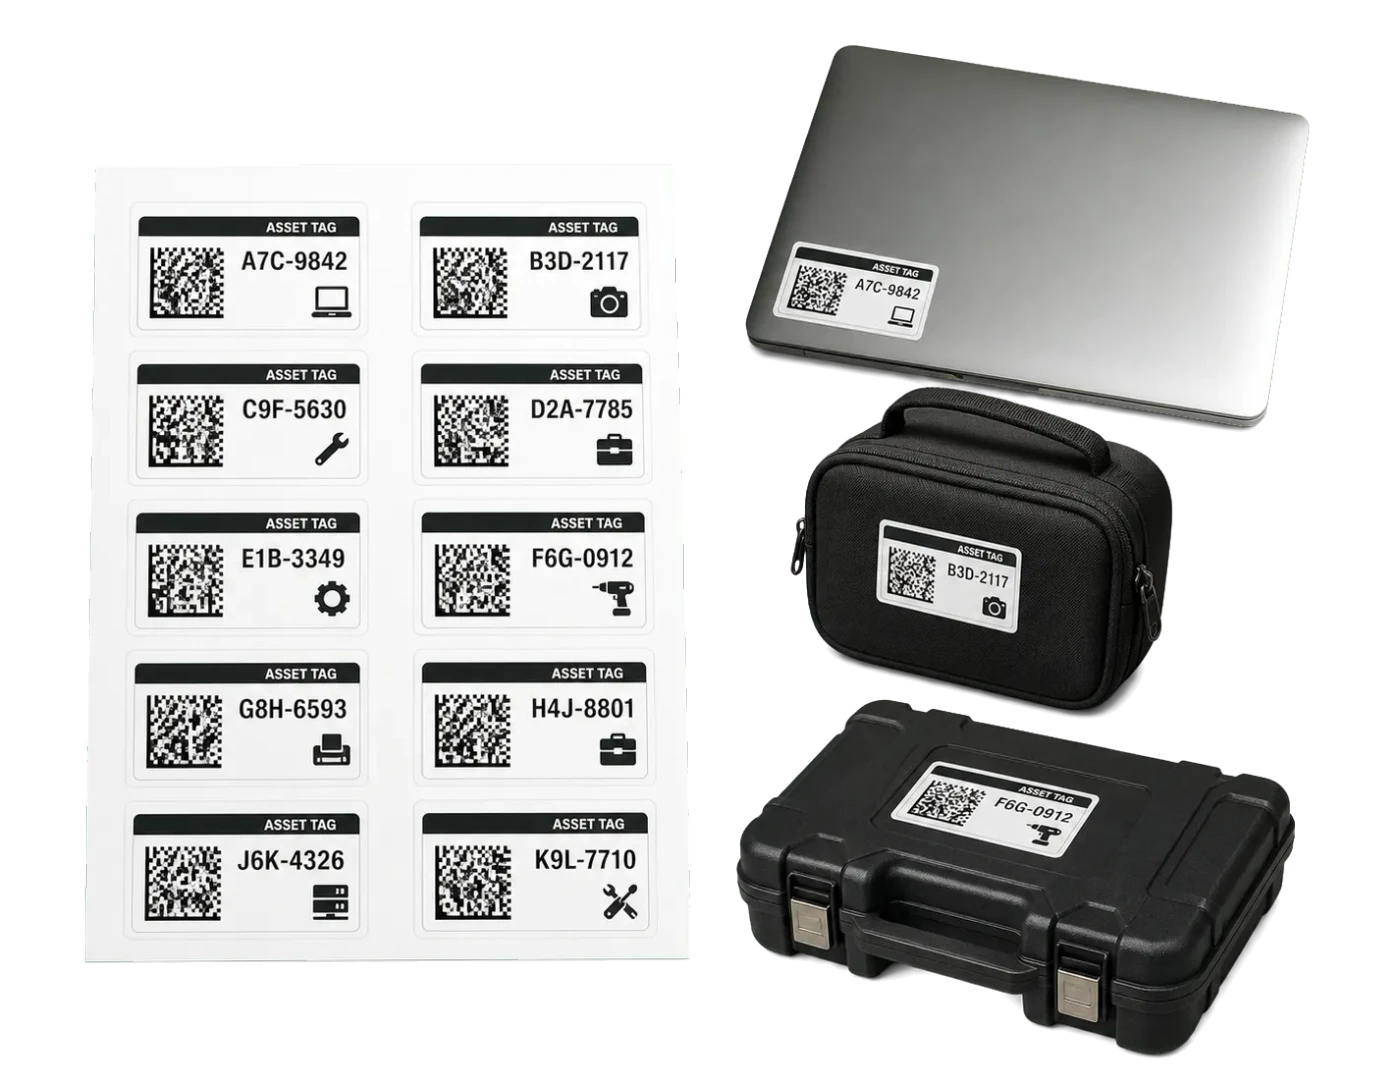
Multi-Design (Gang Multiple Cards)
You have multiple different cards—one per employee, or multiple clients—and want to print them all on one sheet to save paper and setup time. The Cards tool in PDF Press takes a multi-page PDF where each page is a different card and places them across the grid: Page 1 in position 1, Page 2 in position 2, and so on. This is essential for gang-run printing where a shop prints cards for several clients on a single press sheet.
Both workflows are fully supported in PDF Press. The cards imposition guide provides more detail on multi-design layouts, while our n-up printing guide covers the step-and-repeat approach.
Step-by-Step: Impose Business Cards in PDF Press
Here is the complete workflow for imposing business cards using PDF Press:
- Prepare your card file with bleed. Design at the final trim size (3.5×2″ for US cards). Set 0.125″ bleed in your design application and export a PDF/X-4 file. Do not add crop marks in InDesign—let PDF Press handle them.
- Open PDF Press. Go to pdftools.email and launch the app. No installation or account required.
- Upload your business card PDF. Drag and drop or browse to select your file. For multi-design jobs, upload a multi-page PDF where each page is one card design.
- Select the "Cards" tool. This is the dedicated business card imposition engine. (For a single design repeated, use the N-Up tool instead.)
- Set rows and columns. For a standard 10-up layout on 12×18″ paper, enter 4 rows × 3 columns. For 12-up, use 4 rows × 3 columns on a 13×19″ sheet.
- Set paper size. Choose 12×18″ (US standard for digital presses) or enter custom dimensions.
- Set bleed. Enter 0.125″ (or 3mm for metric). This adds the bleed zone outside each card's trim.
- Set gutter. Enter 0.125″ for standard stocks, or 0.25″ for thick (32pt) cards.
- Enable crop marks. Toggle crop marks on. PDF Press places them at the correct offset from the bleed edge.
- Preview to verify alignment. Check that the cards are correctly positioned, the bleed overlaps properly, and the crop marks are clear of the artwork.
- Download the imposed PDF. Export the print-ready file. It is ready to send directly to the press.
The entire process takes under two minutes. No InDesign templates, no manual calculations, no room for error. PDF Press computes the grid, positions each card, adds bleed, gutters, and marks—and it all runs locally in your browser.
Production Tips for Business Card Printing
Imposition is just one step in the production chain. Here are tips for the rest of the workflow:
- Always proof one sheet first. Before running 500 sheets, print one imposed sheet and cut it by hand. Verify alignment, bleed, and content placement. A 2-minute proof prevents a 2-hour rerun.
- Cut on a guillotine using crop marks as guides. Never cut by eye. The crop marks from PDF Press are precisely placed—use them. For thick stocks (32pt), use a sharper blade and make multiple passes rather than one heavy cut.
- Apply lamination or UV coating after cutting. Imposing before coating and cutting after coating is the wrong order. Print, impose, cut, then coat. This ensures the coating covers the full card surface to the edge.
- Check paper weight and grain direction. 14pt (250gsm) is standard. For a premium feel, go 16pt (300gsm). For ultra-luxury, 32pt (600gsm) makes a statement. Always ensure the grain direction runs parallel to the long edge of the card—against-grain folds crack on heavy stock.
Use PDF Press's preview to catch alignment errors before they reach the press. A visual check in the browser is faster and cheaper than a press proof.
Cost Comparison: Printing Cards with Imposition
The economics of business card printing change dramatically based on how you impose:
| Method | Cards per Sheet | Cost per 1,000 Cards | Setup Time |
|---|---|---|---|
| 1-up on letter (8.5×11″) | 1 | $500–$1,000 | 5 min per card |
| 10-up on 12×18″ | 10 | $15–$50 | 5 min total |
| Professional print shop | Varies | $50–$150 | Days for delivery |
| 10-up on 12×18″ with PDF Press | 10 | $15–$50 | Under 2 min |
The difference between 1-up and 10-up is not marginal—it is the difference between a profitable job and a money loser. And the difference between manual imposition (InDesign templates, spreadsheet calculators) and PDF Press is the difference between a 15-minute setup and a 2-minute one.
With PDF Press, you get professional imposition results without the learning curve of dedicated prepress software. No subscriptions, no installations, no server uploads—just fast, accurate layouts that save money on every job.
Ready-made layout
Load the 10-Up Business Cards preset
Opens with this layout pre-loaded — just drop your PDF and download.
Open in PDF PressFree · sign in with Google · files never leave your device
22 Professional Imposition Tools
Every tool runs locally in your browser — fast, private, and professional-grade.
Frequently Asked Questions
Related Articles
Ready-made layout
Load the 10-Up Business Cards preset
Opens with this layout pre-loaded — just drop your PDF and download.
Open in PDF PressFree · sign in with Google · files never leave your device