 pdfpress
01
Guillotine trimming
Show the intended trim on single-page artwork before the sheet is cut.
A clear path to the final cut
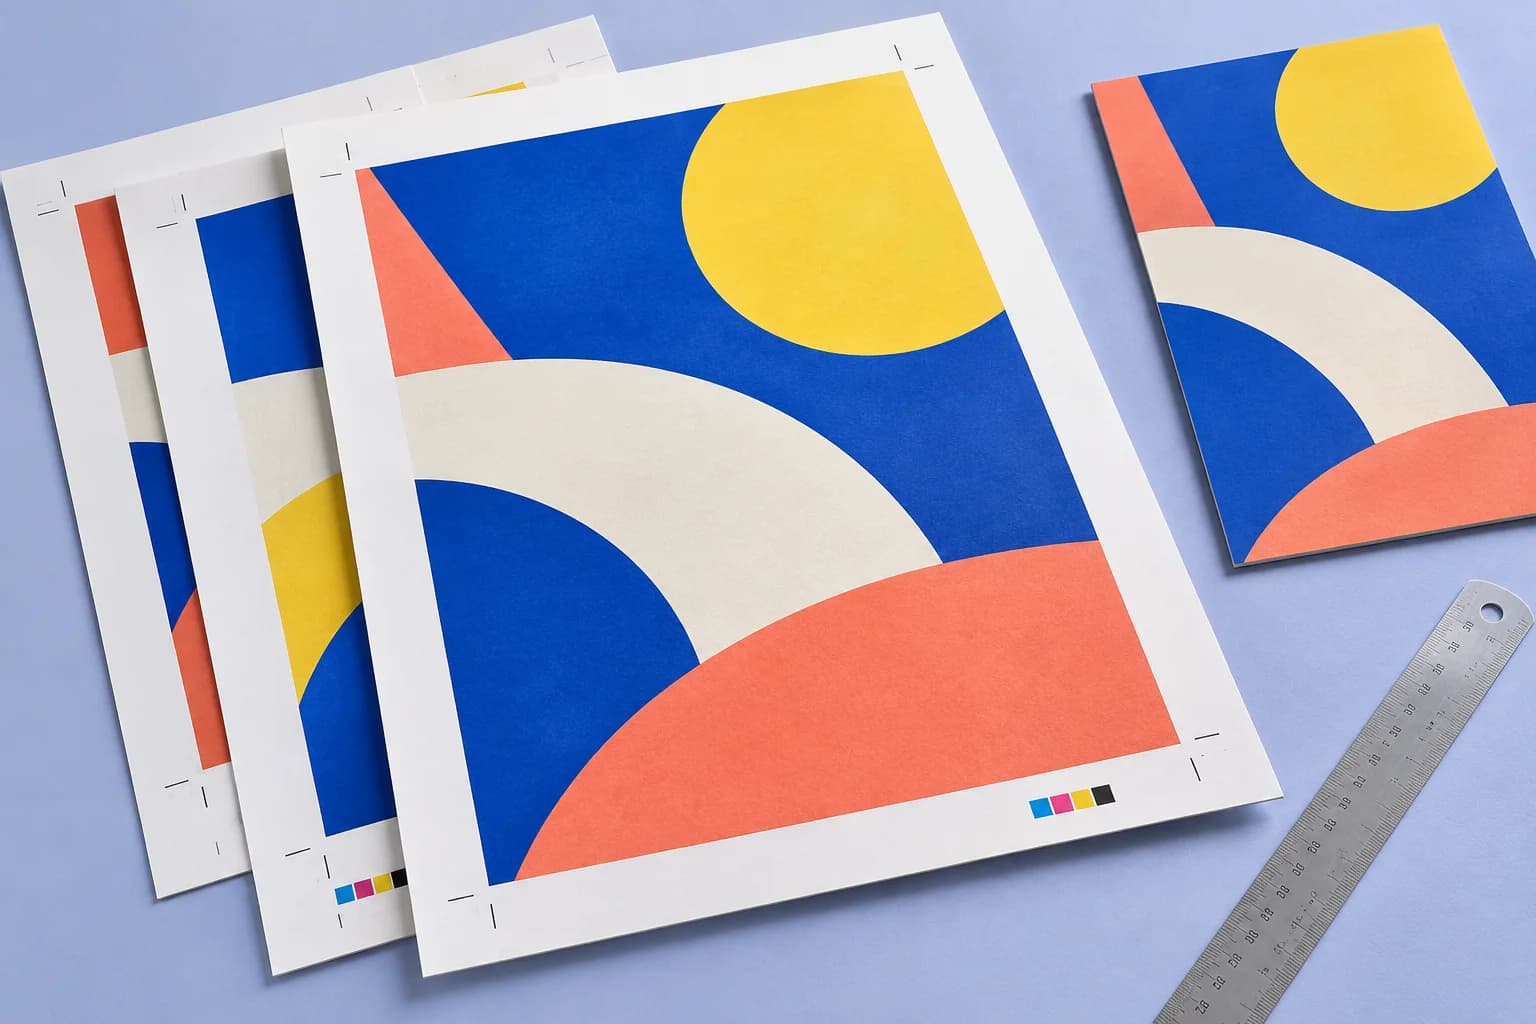
Add crop marks and optional registration targets around your PDF. The page grows to make space for the marks while the artwork stays at its existing size.
Files stay on your device·Sign in to start
Have your artwork ready?
PDF, PNG, JPEG/JPE/JFIF, TIFF, WebP, AVIF, HEIC/HEIF, GIF, BMP, ICO/CUR, SVG or JPEG 2000. Multiple files open as separate tabs.
Made for real print jobs
From the first proof
to the finished piece.
Show the intended trim on single-page artwork before the sheet is cut.
Prepare a marked proof for a printer whose workflow requires marks in the supplied PDF.
Add registration targets when they are needed by the chosen production process.
An invitation ready for trimming
ARTWORK → LAYOUT → PRINTIllustrative print job
Add crop marks around an invitation that already has its trim and bleed defined. Check the larger output sheet and hand off a proof showing the intended cut.
A clear path to print
Your artwork stays on your device.
Your layout stays in your control.
Open the PDF and confirm that the trim and bleed describe the intended finished piece.
Select Crop or Crop + registration. Adjust length and offset in Advanced where needed.
Confirm that the marks clear the bleed and that the larger page fits the production sheet.
A little print know-how
A few things to check before you send your job to the printer.
Read the Crop Marks guideImposition tools can place their own marks. Confirm the required stage of the workflow to avoid duplicate marks.
A correct trim definition and sufficient bleed matter more than the presence of visible crop marks.
Marks are placed outside the bleed using the page dimensions. Confirm the source trim and bleed boxes, then inspect the preview.
The tool grows the outer sheet enough to hold the marks and their offset. The artwork is centred without scaling.
Only if the print workflow requires them. Choose the mark style requested by your printer.
Often the imposition tool can add marks at the sheet stage. Use this standalone tool when you specifically need a marked individual-page PDF.
Keep your job moving
Explore the studio
Find examples, setup tips and answers for every tool.
Your next print project
Bring your PDF. We’ll help with the layout.